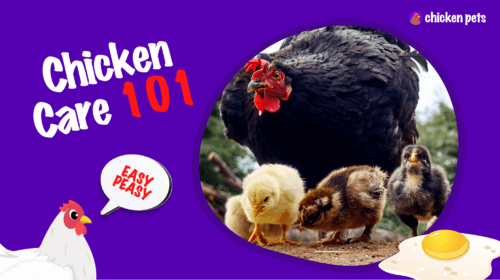
Welcome to our guide on raising baby chicks! If you’re ready to dive into the world of backyard chickens, you’ve come to the right place.
Raising Baby Chicks: A Guide
In this guide, we’ll cover the essentials of raising happy and healthy baby chicks, from setting up the perfect brooder to providing proper nutrition and care. With practical tips and evidence-based advice, you’ll soon become a backyard chicken pro!
Setting Up a Cozy Brooder
Before you bring your baby chicks home, you’ll need a warm, comfortable space called a brooder. A brooder will keep the chicks safe and cozy while they grow and develop over their first few weeks of life.
Choosing a Brooder Location
First, find a draft-free spot in your home, garage, or any other enclosed space that provides ample room for your chicks to move around. The ideal location should maintain consistent temperatures and be free from hazards like chemicals or pets.
Brooder Box Options
A brooder box can be as simple or elaborate as you’d like it to be
- A large plastic storage container
- A kiddie pool
- A wooden or metal box
- A store-bought brooder
When choosing a brooder box, ensure it has high sides to prevent drafts and escapes, and that it’s durable and easy to clean.
Bedding and Accessories
For bedding, use a clean, absorbent material such as:
- Pine shavings
- Paper towels
- Straw or hay
Avoid using cedar shavings, as they can cause respiratory problems. Place the bedding in a 1-2 inch layer and change it regularly to keep the brooder clean and dry.
You’ll also need:
- A heating source, like a heat lamp or heating pad
- Their food and fresh water
- A thermometer to monitor the temperature
- Perches for the chicks to practice roosting
Maintaining the Right Temperature
Keeping your baby chicks warm is crucial to their survival and growth. Adjusting the temperature during their first few weeks is essential. Follow these guidelines:
- Week 1: 95°F (35°C)
- Week 2: 90°F (32°C)
- Week 3: 85°F (29°C)
- Week 4: 80°F (27°C)
- Week 5: 75°F (24°C)
Gradually decrease the temperature by about 5°F each week. Monitor the chicks’ behavior to determine if adjustments are needed. If they huddle close to the heat source, they’re too cold. If they avoid the heat, they’re too hot.
Feeding Your Baby Chicks
Chicks grow rapidly, so it’s essential to provide them with the proper nutrition for a healthy start. Here’s what you need to know about feeding your baby chicks:
Types of Chick Feed
Choose a specially formulated, high-quality chick feed that contains necessary vitamins and minerals for growth, such as:
- Starter feed: for the first 4-6 weeks
- Grower feed: from 6-20 weeks
Opt for a feed with a protein content of around 18-22% for optimal growth. Never give your baby chicks adult layer feed, as it has too much calcium for their developing bodies.
Feeding Schedule
Supply fresh feed continually and check it regularly to ensure they have enough. Make sure it’s free from mold or contamination that could lead to serious health issues.
Introducing Treats and Supplements
Offering treats and supplements can help enhance your baby chicks’ nutrition. Hold off on treats until they are at least 2 weeks old. Some popular options include:
- Chopped fruits and vegetables
- Cricket or mealworms
- Boiled eggs
- Scratch grains
Don’t forget to provide grit for chicks who eat treats, as it assists in digestion.
Providing Clean Water
Baby chicks need access to clean, fresh water at all times. Using a chick-specific waterer keeps their water supply clean and prevents accidental spills or drowning.
Temperature and Position
Chicks prefer water that is at room temperature. Place the waterer on the opposite side of the brooder from their heat source. This helps regulate the temperature in the brooder and promotes good hygiene.
Checking and Cleaning Water
Check their water supply throughout the day and clean the waterer regularly. Replace the water daily, or more frequently if you notice it becoming dirty or contaminated.
Preventing Drowning
When you first bring your baby chicks home, place clean marbles or pebbles in their water dish to discourage chicks from getting in or drowning. Remove these when the chicks are a week old and more stable on their feet.
Monitoring Chick Health
Keeping a close eye on your baby chicks’ health is a crucial part of successful chick rearing. Here are some tips and signs to watch out for:
Activities and Behaviors
Healthy chicks are active, curious, and alert. They’ll explore, peck at their surroundings, and take naps throughout the day. If you notice any signs of lethargy or huddling, there may be an issue with temperature or illness.
Physical Health
Check your chicks for any signs of physical health issues, such as:
- Pasty Butt: A condition where droppings stick to their vent, preventing them from eliminating waste
- Labored breathing or sneezing
- Swollen or watery eyes
If you notice any health concerns, consult a veterinarian or experienced chicken keeper for guidance.
Developing a Social Bond
Raising baby chicks is also about building trust and socialization. Chickens are social creatures, and spending time with them helps create these bonds. Here’s how you can interact with your baby chicks:
Petting and Handling
Hold your baby chicks gently, providing warmth and safety. Gently pet and stroke their feathers, talking sweetly to them to create trust and familiarity with your voice. Be patient and handle them briefly at first, increasing time as they get used to you.
Playtime and Enrichment
Chicks enjoy exploring and engaging with their environment. Offer safe toys, like shiny objects or mirrors, to stimulate their curiosity. Introduce perches for them to practice roosting, and provide areas to explore and scratch around in.
Treat Time
Like any animal, baby chicks appreciate treats! Providing treats by hand strengthens your bond, and the chicks will begin to associate you with something positive. Always provide treats in moderation, and remember to add grit to their diet when introducing treats.
Preparing to Transition Outdoors
As your baby chicks grow, they’ll become more robust and develop adult feathers. Depending on their size and weather, most chicks are ready to start spending time outside between 4-8 weeks old. Begin with supervised, short excursions in a safe, enclosed area. This helps acclimate them to their new surroundings and prepares them for life in their outdoor coop and run.
With the right care, your baby chicks will grow into healthy, happy, and thriving adult chickens. Remember, patience and observation are key to a successful backyard flock. Happy chick raising!
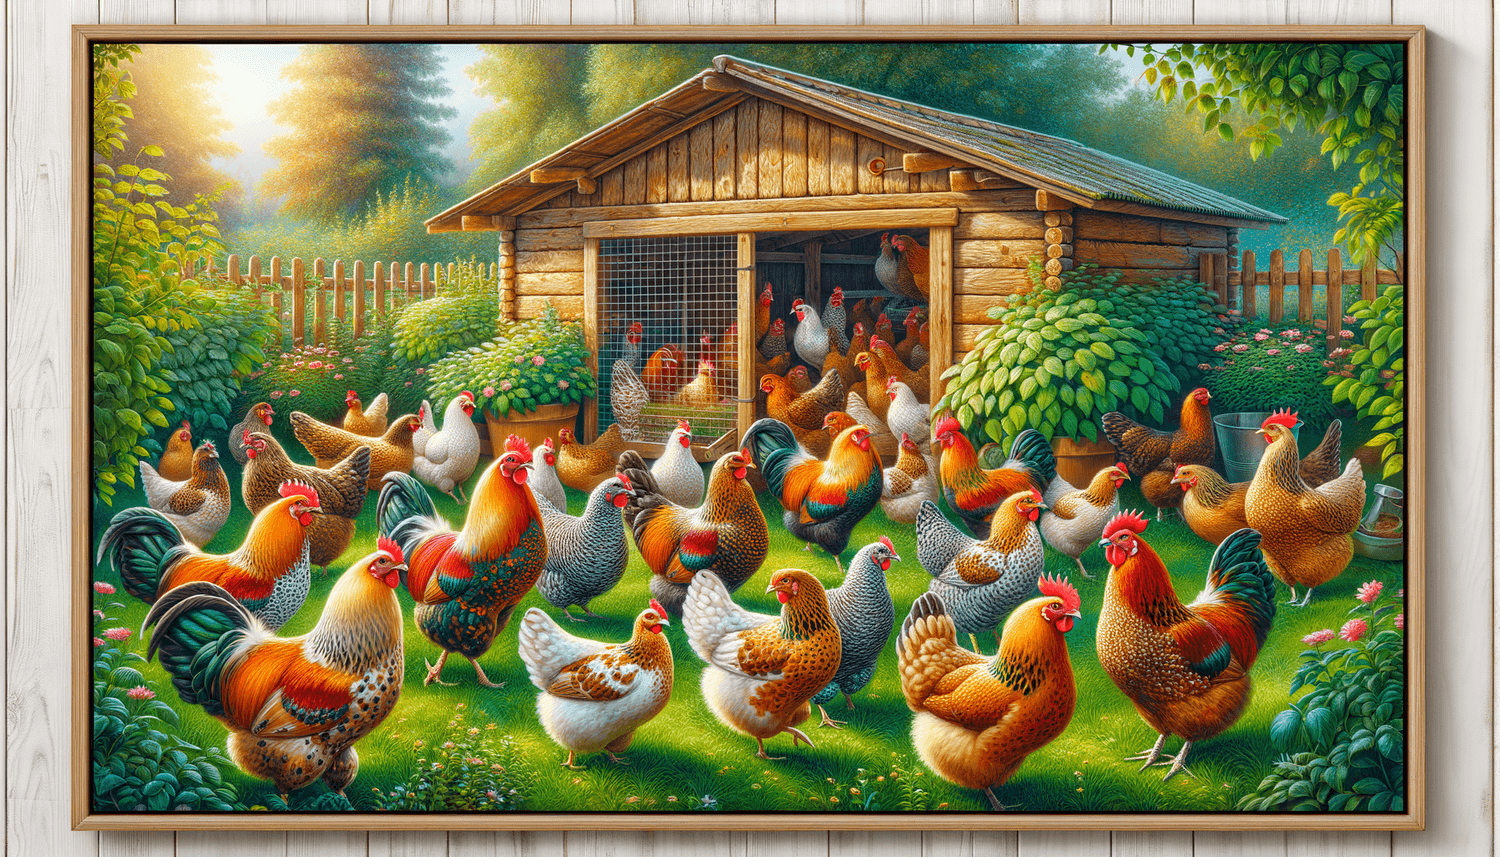
Introducing Your Chicks to the Flock
Once your chicks have matured and are ready for the outdoors, it’s essential to introduce them to the existing flock carefully. Chickens have a natural pecking order, and newcomers can cause stress for both the chicks and adult birds. Here’s a step-by-step process to help make the integration smooth and stress-free:
Step 1: Visual Contact
Place the chicks in a separate, enclosed area within the coop or run where they can see and hear the adult birds without direct physical contact. Alternatively, use a wire mesh divider to separate them. This allows both groups to become familiar with each other while keeping the chicks safe.
Step 2: Supervised Interaction
After a few days, let the chicks mingle with the adult birds under close supervision. Make sure there’s plenty of space and hiding spots for the chicks to retreat if needed. These short interaction sessions should be gradually increased over time.
Step 3: Full Integration
Once the chicks are comfortable around the adult birds and you have observed little to no aggression, you can allow them to join the flock full-time. Make sure to keep an eye on them during this period, ensuring there is minimal conflict and that the chicks are safe and accepted by the flock.
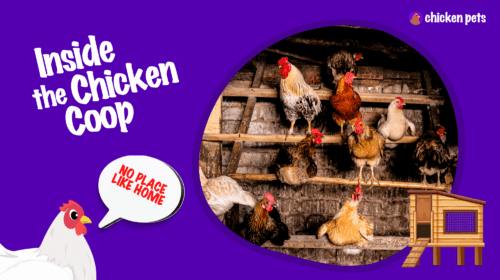
Coop and Run Safety Tips
A critical aspect of raising backyard chickens is providing a secure and comfortable environment. Here are some safety tips for your coop and run:
Secure the Coop and Run
Keep predators at bay by ensuring your coop and run are adequately secured, including:
- Using predator-proof materials
- Securing windows, doors, and openings
- Installing hardware cloth around the perimeter
- Digging a trench and burying fencing to deter digging predators
Provide Adequate Space
Ensure there’s ample space for each bird in both the coop and the run. Overcrowding can lead to stress, disease, and behavioral issues. A general rule of thumb is providing 2-3 square feet per bird in the coop and 8-10 square feet per bird in the run.
Create Natural Dust Bath Areas
Chickens enjoy taking dust baths, which help them maintain good hygiene and deter external parasites. Create a dust bath area in your run by providing a shallow container filled with soft soil or sand, mixed with food-grade diatomaceous earth. Your chickens will appreciate this natural method of grooming and cleansing.
Offer Regular Medical Check-ups
Perform regular health checks on your entire flock, ensuring they’re healthy, happy, and thriving. A routine of monthly check-ups will help you notice any issues, such as parasites, weight loss, or other concerns, that may affect your adult birds or new chicks.
With these additional tips, you’ll create a thriving backyard flock that includes both adult chickens and newly integrated baby chicks. So get started and enjoy the journey of raising baby chicks!
FAQ: Raising Baby Chicks
You may have questions about raising baby chicks or encounter some unique scenarios. Here’s a collection of frequently asked questions and helpful answers to guide you along the way.
1. How long do chicks need to stay in the brooder?
Chicks generally stay in the brooder for 4-8 weeks. The specific duration depends on their breed, size, and weather conditions. When they have developed adult feathers and can adjust to outdoor temperatures, they’re ready to transition outdoors.
2. Are baby chicks noisy?
Baby chicks can be quite vocal at times, but they should not be excessively noisy. Frequent loud peeping may indicate an issue, such as hunger, thirst, or discomfort due to improper temperature.
3. Can I raise different breeds of chicks together?
Yes, raising different breeds of chicks together is generally not a problem. If you have breeds that differ significantly in size or aggressiveness, be sure to monitor them closely and provide ample space for each bird.
4. When can I feed my chicks adult chicken feed?
Chicks should be switched to adult chicken feed when they reach 18-20 weeks of age. Make sure to choose a layer feed variety that provides appropriate nutritional requirements for egg-laying hens.
5. Can I raise chicks and ducklings together?
While it’s possible to raise chicks and ducklings together, it’s not recommended, as they have different needs—especially regarding water. Ducklings love wet environments, while chicks require a dry brooder to avoid health issues.
6. How often should I clean the brooder?
The brooder should be cleaned regularly to maintain a healthy and hygienic environment. Spot-clean daily to remove soiled bedding, and thoroughly clean the brooder every 1-2 weeks or as needed.
7. Can I leave my baby chicks alone during the day?
Baby chicks can be left alone for short periods if they have access to food, water, and a consistent heat source. However, it’s essential to check on them frequently to ensure their needs are met and their environment is comfortable.
8. When do chickens start laying eggs?
Chickens usually start laying eggs around 18-24 weeks of age. This can vary depending on factors such as breed, nutrition, and environmental conditions.
9. How can I tell if my chicks are male or female?
Sexing chicks can be difficult, especially for inexperienced chicken keepers. Some common methods to determine gender include vent sexing, feather sexing, and observing their physical traits or behaviors as they mature. However, these techniques may not be 100% accurate.
10. What should I do if my chick has pasty butt?
If you notice a chick with pasty butt, gently soak the area in warm water to soften and remove the droppings. Dry the chick thoroughly and return it to the brooder. Monitor the chick closely and ensure appropriate brooder temperature and nutrition to prevent recurrence.
11. Can I use a heating pad instead of a heat lamp?
Yes, you can use a heating pad as an alternative heat source for your brooder. Ensure the pad is safe for use with animals, provides adjustable temperature settings, and is placed to allow chicks to easily move closer or farther from the heat as needed.
12. When should I introduce grit to my chicks?
Introduce grit to your chicks once they are at least 2 weeks old, especially if you’re offering treats or other non-feed items in their diet. Grit aids in digestion, allowing the chicks to break down and process food more efficiently.
13. How do I introduce my older chickens to the new flock members?
Introduce new flock members gradually over time. Start with visual contact only, then progress to supervised interaction sessions, and finally, full integration when both groups seem comfortable with each other.