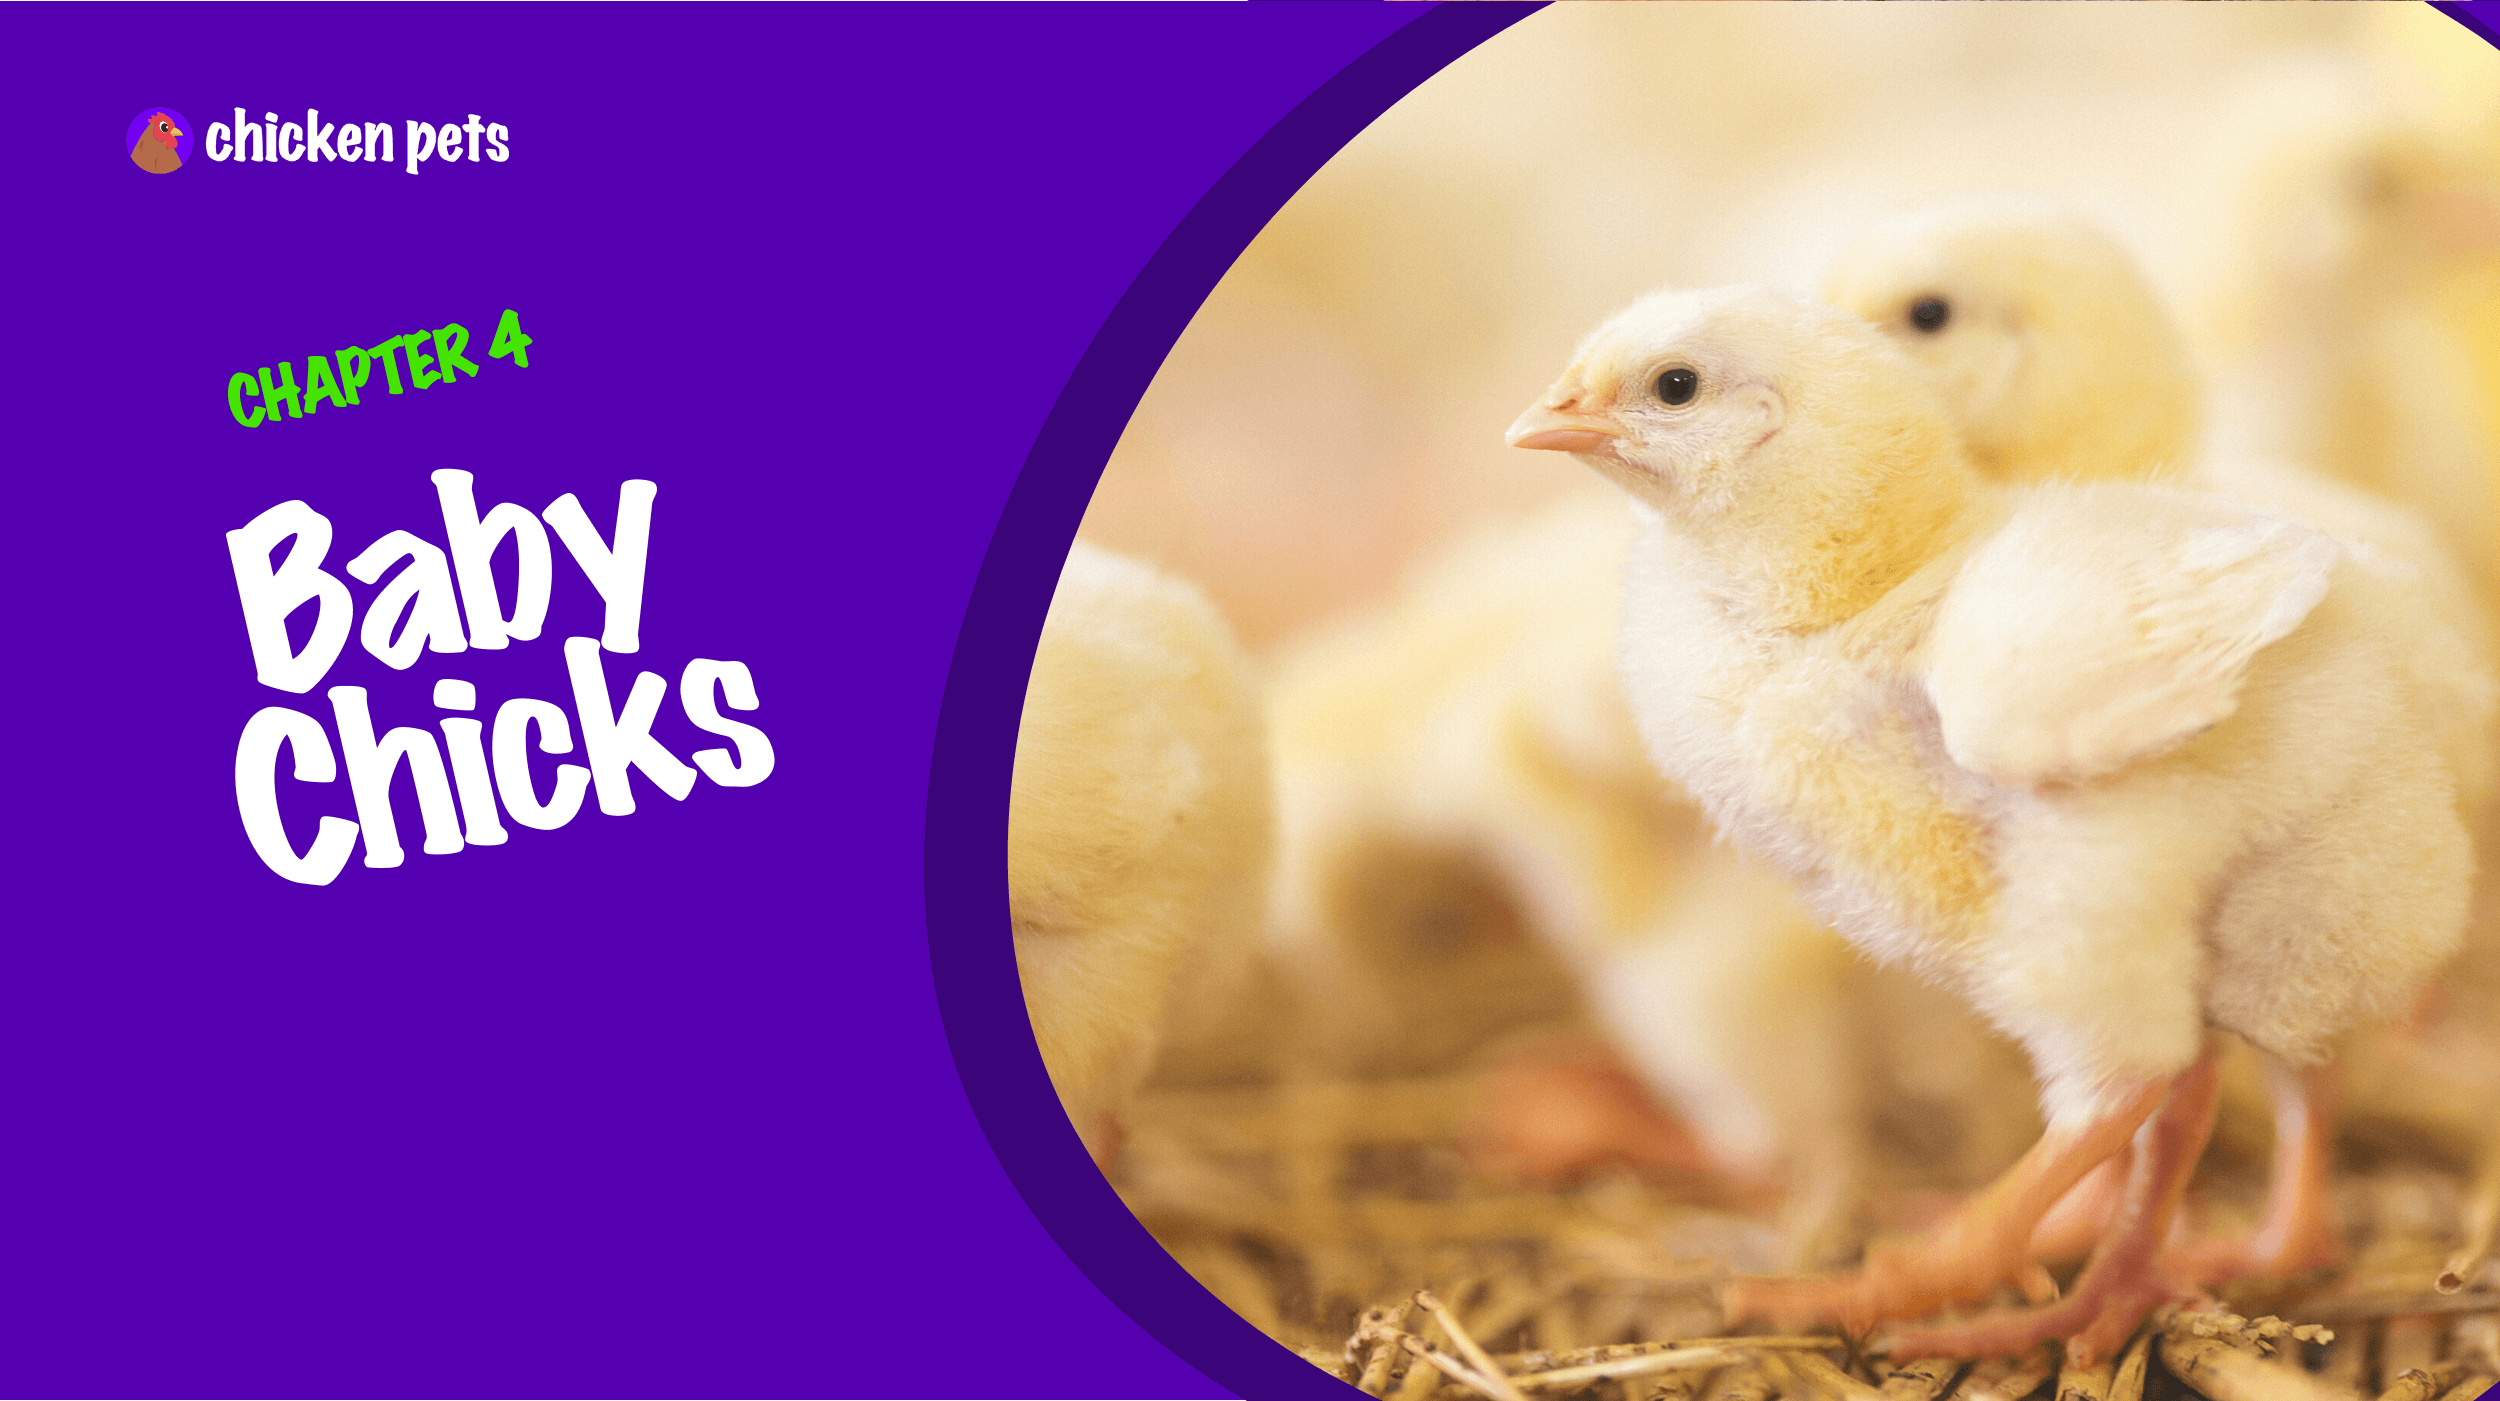
If you’re holding this chapter, it’s safe to assume that you’ve already decided to join the flock (pun intended!) and want to learn everything you need to know to give your new feathered friends the best possible life.
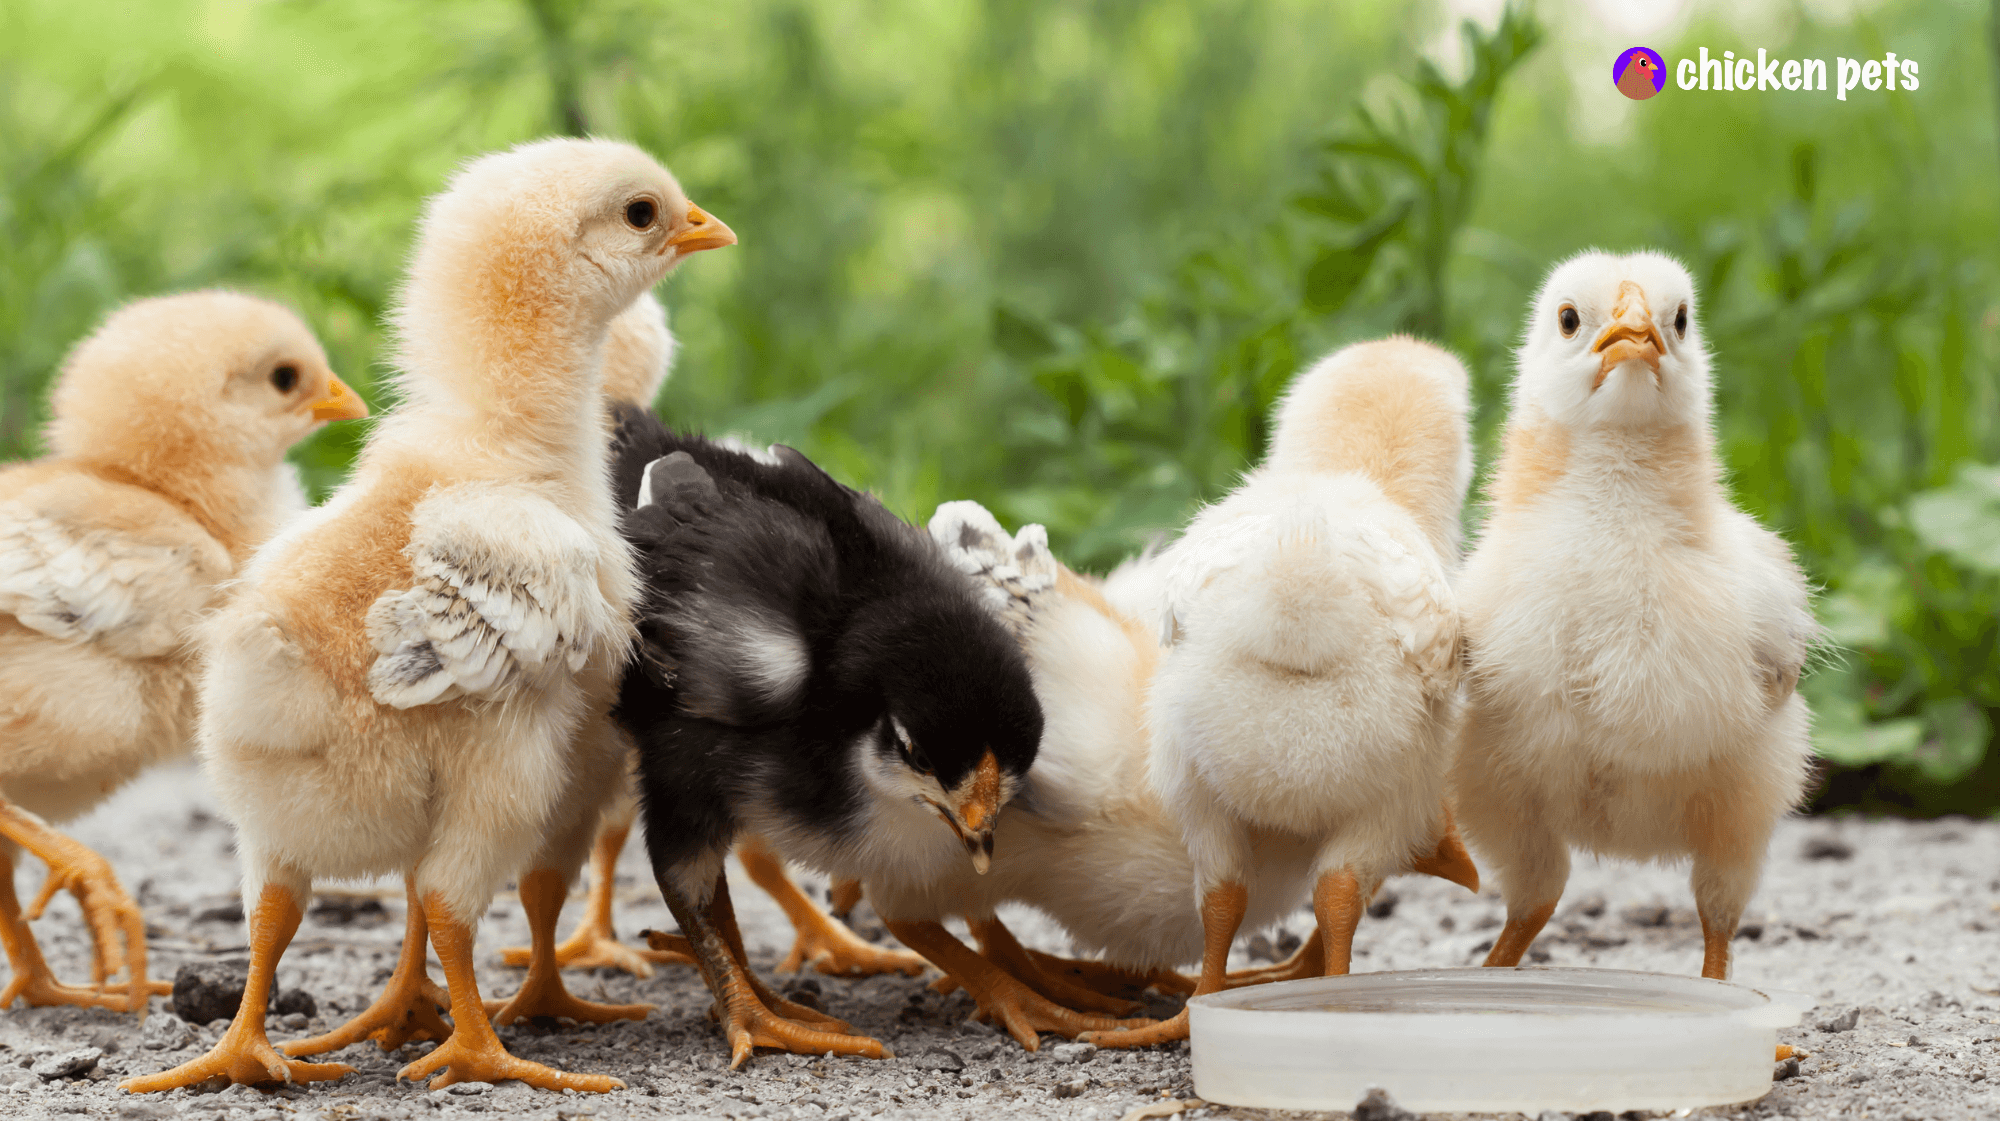
This chapter will discuss everything you need to know to care for your newly-hatched baby chicks. We’ll assume that you have already purchased your little bundles of fluff, so we won’t be covering the process of hatching chicks from fertilized eggs.
We’ll cover everything from the basics of what your chicks need to thrive to the nitty-gritty details of keeping them healthy and safe. By the end of this chapter, you’ll be fully equipped with the knowledge to raise a thriving, happy flock of backyard chickens.
What do baby chicks need?
The first step in raising healthy and happy chicks is to provide them with a warm and comfortable living environment, which includes a brooder box, bedding, a heat source, and food and water. This section will overview each essential element and then detail each feature.
Brooder Box — A brooder box is a must-have for your baby chicks, and it provides a safe, warm, and comfortable space for them to live in during the first 8-12 weeks of their life. The brooder box should be large enough to accommodate all your chicks, with enough room to move around and stretch their wings.
Bedding — The bedding in the brooder box is crucial for keeping your chicks comfortable and clean.
Heat Source — Your baby chicks will need a heat source to keep them warm, especially during the first few weeks of life. A heat lamp is the most common heat source, but heat plates and heat mats are also available.
Food and Water — Like us, baby chicks need food and water to grow. Providing them with a high-quality starter feed or chick crumb containing 15-20% protein is essential.
Hatching a Home: Creating the Perfect Brooder Box for your Baby Chicks
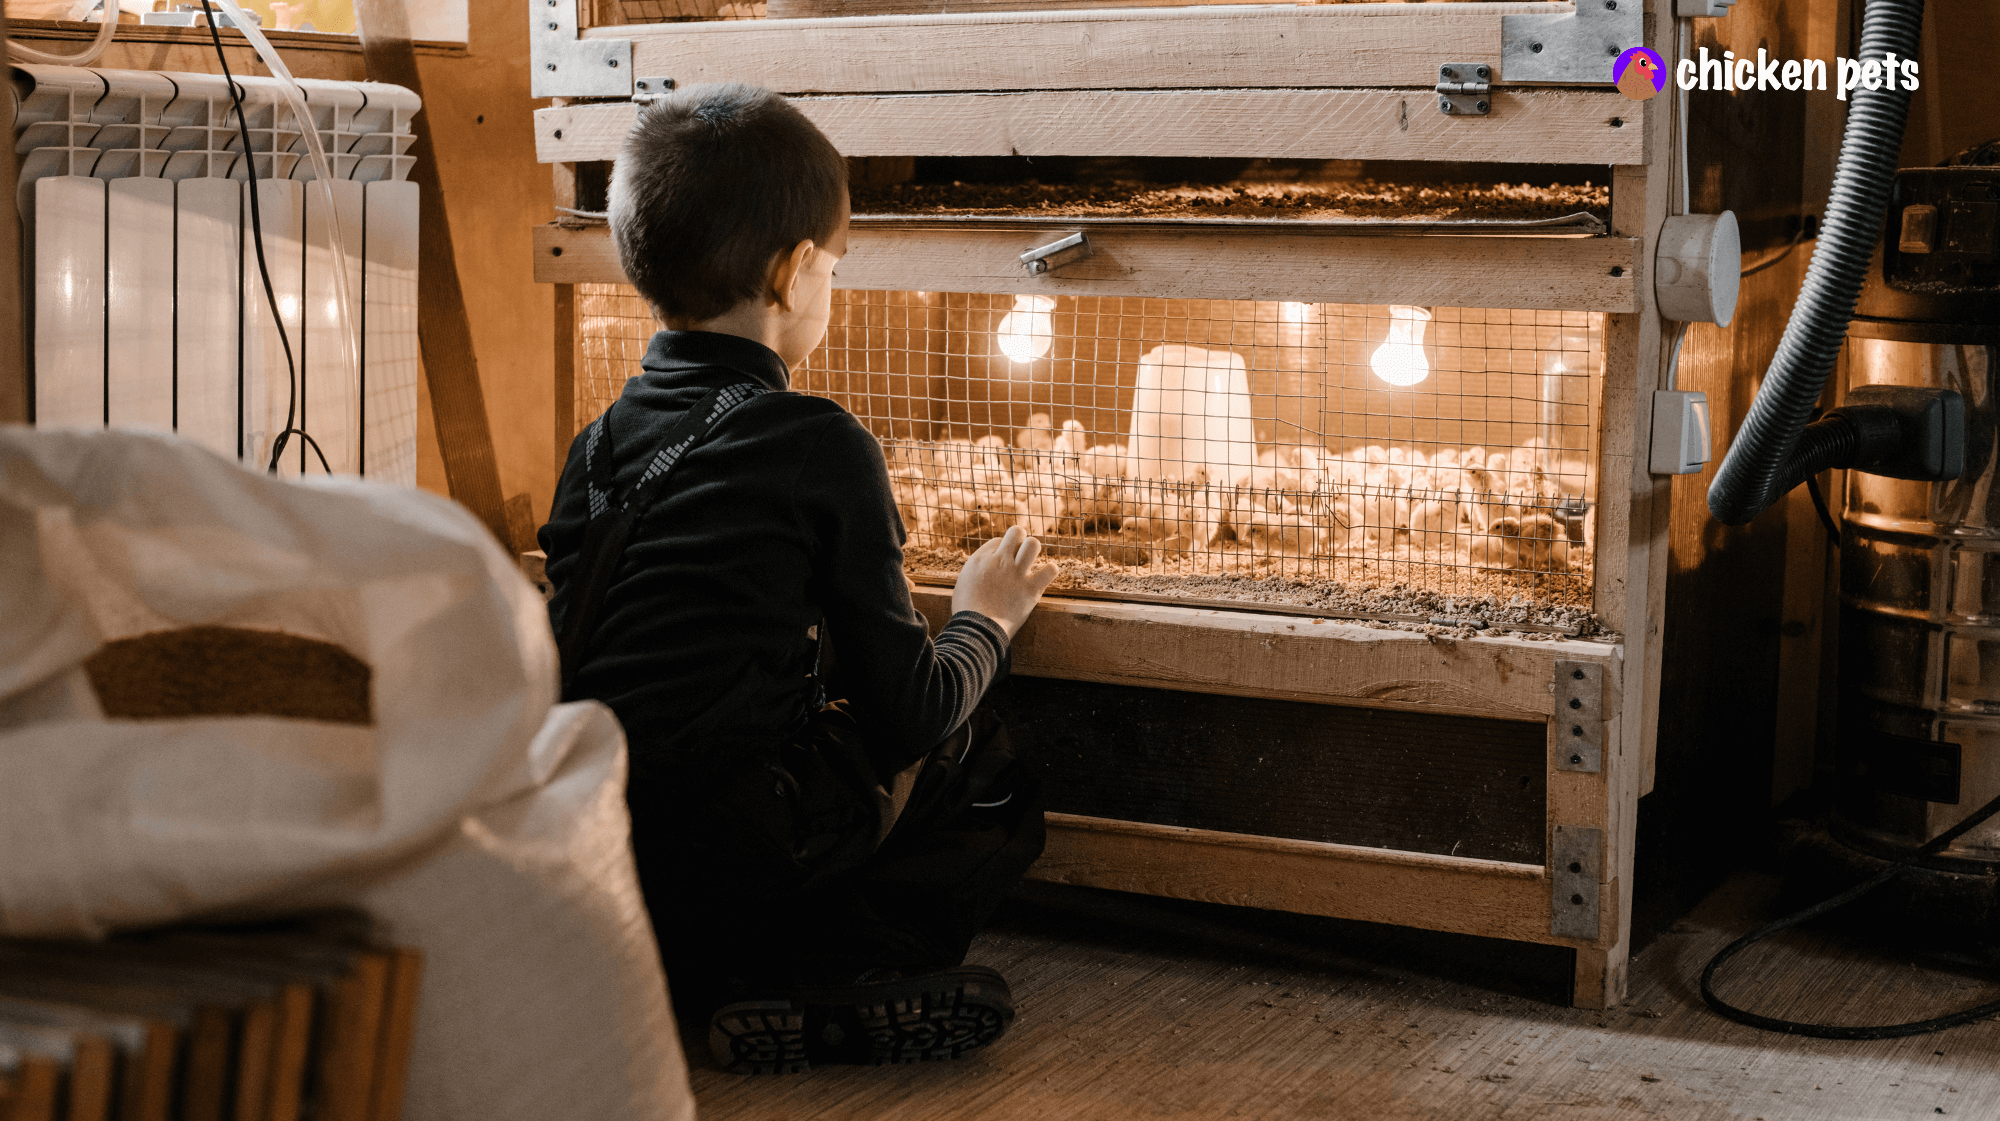
So, you’re ready to bring home a bunch of fluffy baby chicks and watch them grow into beautiful backyard birds! But before you start cuddling and cooing at these little cuties, you must ensure you have the proper setup for them. Enter the brooder box!
A brooder box is a temporary home for baby chicks, and it keeps them warm, safe, and comfortable as they grow from little balls of fluff into fully-feathered chickens. The size of your brooder box will depend on the number of chicks, but a general rule of thumb is to provide about 2-3 square feet of space per chick.
When choosing a location for your brooder box, make sure it’s in a draft-free area, away from windows and doors, and easily accessible for cleaning and feeding. You want to make sure your chicks are in a place where they feel safe and secure and not in danger of being chilled or overheated.
The materials you use to build your brooder box can range from cardboard boxes to plastic containers, but the most crucial factor is that it is easily cleaned and sanitized. For the first four days, it’s essential to have a non-slip material on the bottom of the brooder box, such as paper towels, to prevent the chicks from slipping and injuring themselves. Then, you can transition to low-dust pine shavings mixed with dirt or even washed plaster sand, which can be changed every few days to keep things clean.
And remember the perch! Introducing a perch inside the brooder box can be a fun addition for your growing chicks. They’ll love to climb and rest on it, which also helps them build strength in their legs. Ensure the perch is sturdy and at the right height for your chicks to use easily.
So, now that you have the basics of the brooder box down, your little chicks will have a safe and comfortable home to grow and thrive in. Happy brooding!
Warm and Cozy: The Importance of a Proper Heat Source for Baby Chicks
Heat is essential for keeping baby chicks warm, especially during their first few weeks. Without the right temperature, they can become stressed and susceptible to diseases. Here’s what you must know to keep your tiny feathered friends warm and toasty.
What’s the heat all about?
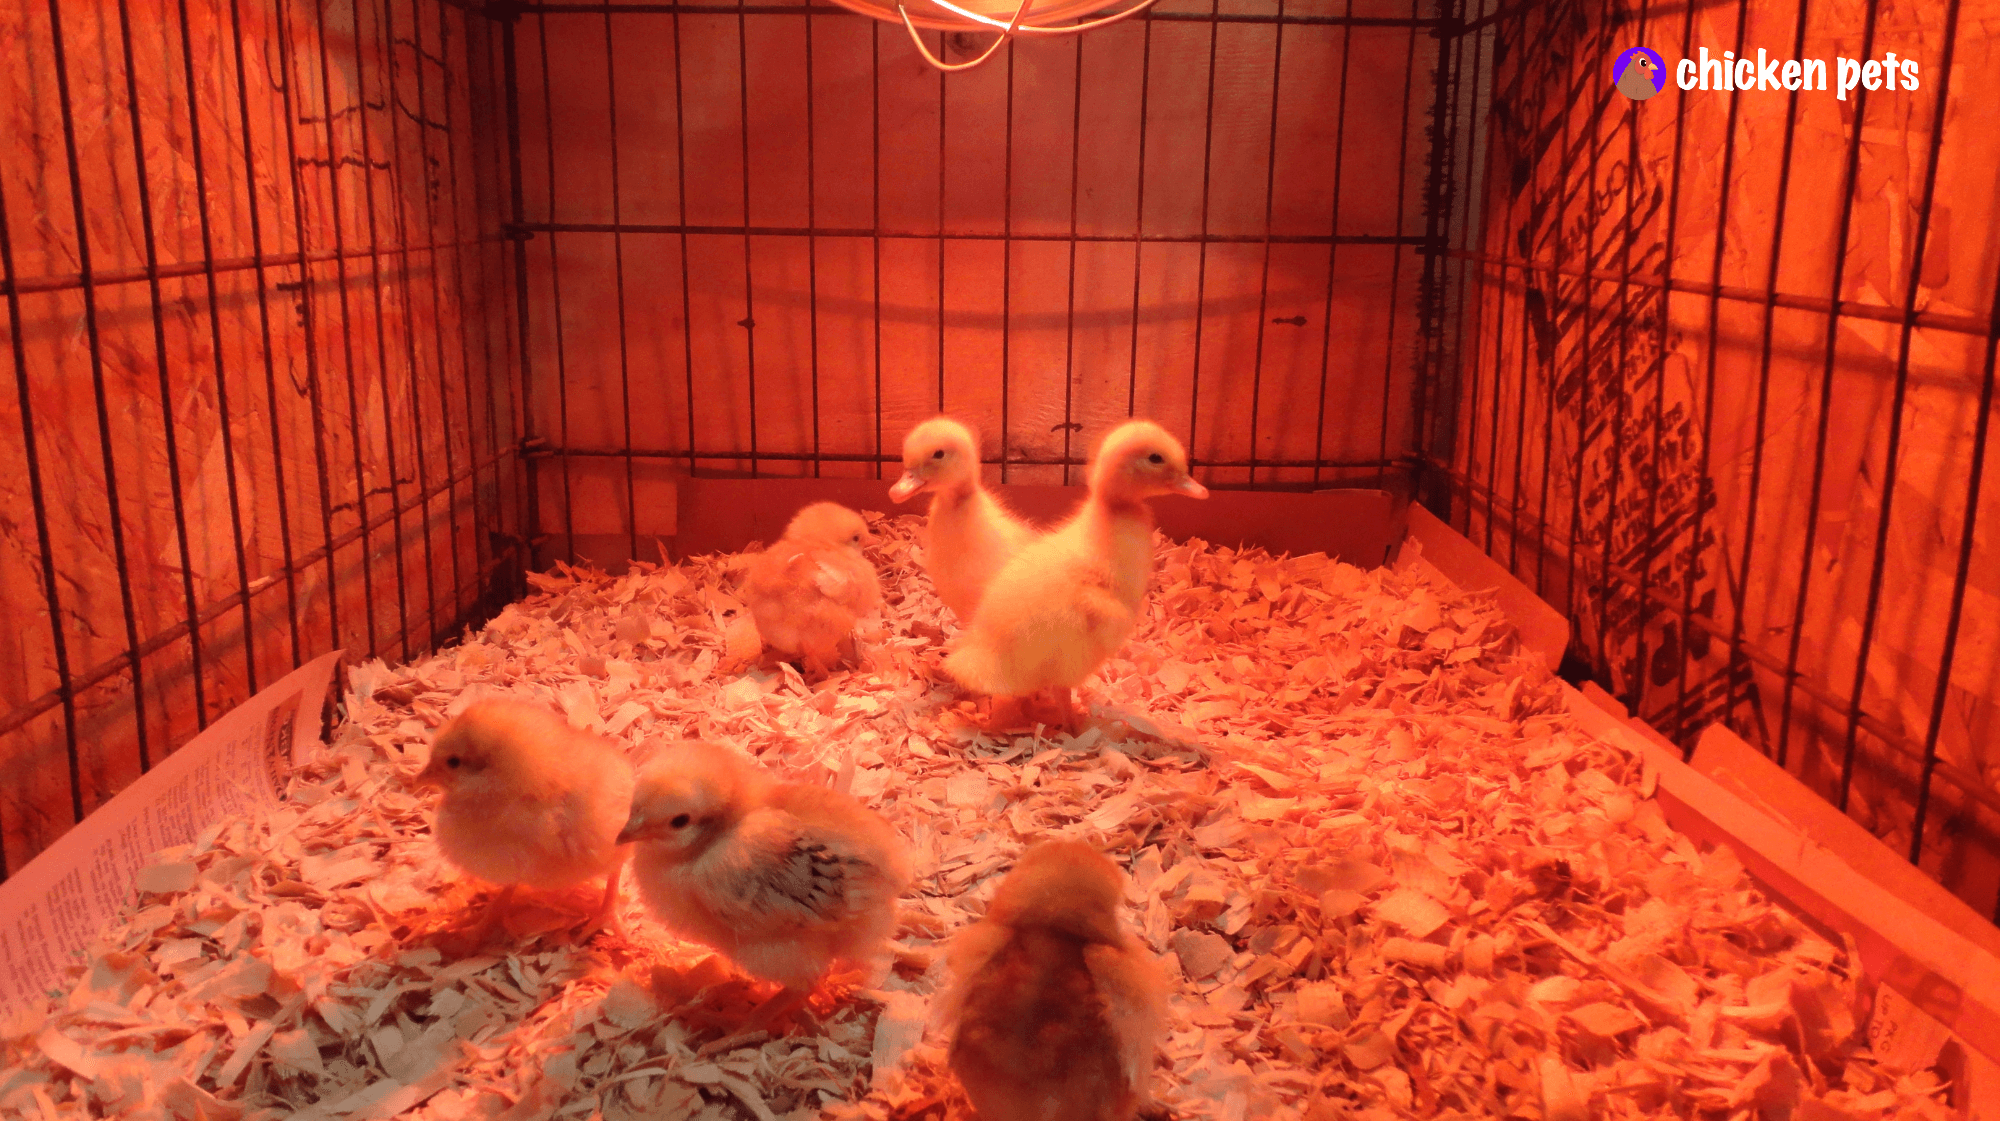
A heat source is a device that provides warmth to baby chicks. It could be a heat lamp, a brooder plate, or a heating pad. We recommend the heat lamp because it’s inexpensive and easy to use. Since it’s usually on a clamp, you can easily regulate the heat by moving it closer or further away from the brooding box. The heat source simulates the warmth that baby chicks would get from their mother hen in a natural setting. Using a red bulb is essential, as the red light will not disrupt the chicks’ sleep patterns.
Heat is critical for baby chicks as it helps maintain their body temperature and supports their overall growth and development. It’s vital for the first four weeks, as baby chicks cannot regulate their body temperature.
The heat source should be placed at one end of the brooder box, allowing the baby chicks to move away from the heat if they get too warm. The heat source should be positioned high enough so the baby chicks can’t touch it but low enough so they can’t fly over it.
Temperature Matters: Measuring the Heat
Measuring the temperature regularly is vital to ensure it’s consistent and at the right level for your chicks. You can use a thermometer to calculate the temperature or place your hand under the heat source. If it feels too hot for your hand, it’s too hot for the chicks.
The ideal temperature for baby chicks is 95°F (35°C) for the first week and then gradually reducing 5°F (2.7°C) every week until they reach 70°F (21°C) by week six. Maintaining the correct temperature is vital to keep your chicks healthy and happy.
After about six weeks, the baby chicks will have enough feathers to regulate their body temperature, and the heat source will no longer be necessary. But you’ll need to keep an eye on your chicks. If they enjoy the heat as they age, you may want to keep it around. Just lower the temperature. You can do this by raising the heat source higher off the top of the brooder box.
Gradual Cool Down: When to Remove the Heat Source
As your chicks grow, they will need less and less heat, and eventually, they will no longer need a heat source. This is usually around the 6-week mark, but monitoring their behavior and adjusting the heat accordingly is best.
A tell-tale sign that it’s time to remove the heat source is when the chicks start to pant or spread their wings. This is their way of telling you they’re too warm and need fresh air. When you notice this, it’s time to reduce the heat gradually; before you know it, your chicks will be ready to transition to their permanent home.
Chick Chow: The Nourishing Guide to Growing Happy and Healthy Baby Chickens
Why is providing baby chicks with the right food and drink essential? It’s simple. We need a balanced diet, as do baby chicks, to grow strong and healthy. With the right food and drink, they will grow into robust, healthy chickens, ready to lay eggs and be the heart of your backyard flock.
Thirsty Chicks: The Need for Water at All Times
Water is crucial for chick survival. It’s like liquid gold to them! Fresh, clean water should always be available, especially during hot weather. Chicks will drink a lot of water, especially during the first few weeks of life, so make sure their water supply is always high. A tip: Don’t use a deep water dish; they may drown. Use a shallow dish, like a pie tin, that they can easily access. It’s also important to replace the water daily to avoid bacteria buildup and ensure it is cleaned and refilled at least once weekly.
“Starter” Meals: The Beginner’s Guide to Feeding Chicks
Your next big feeding decision is what food to give your chicks. Giving them “starter feed” or “chick crumb” is essential for the first eight weeks. This feed is specifically designed for baby chicks and has the protein, energy, and other essential nutrients they need to grow. Be sure to get an organic, non-GMO feed with a 15-20% protein content. Make sure you buy this type of feed and not just any chicken feed for adult chickens.
The Power of Protein: The Importance of Feeding Chicks 15-20%
Protein Protein is the building block of life, and chicks are no exception; it helps them grow feathers, build strong bones, and maintain their overall health. Ensure your chick’s feed contains at least 15-20% protein. Look for organic, non-GMO feed, and opt for medicated feed to prevent digestive problems.
The Great Feed Debate: Medicated or Nonmedicated?
You’ll also have to choose between the medicated and nonmedicated feed. Medicated feed contains antibiotics to help prevent common diseases in baby chicks, but many chicken keepers prefer nonmedicated feed. The choice is yours, but consult a veterinarian or a knowledgeable chicken keeper if you have any questions. You’ll want to check where you purchase your chicks. If the chicks are vaccinated, you don’t need medicated feed.
Treat Time! What to Give Your Chicks as Snacks
After a few weeks, you can start giving your chicks treats. Hard-boiled egg chunks, hanging lettuce, and watermelon are all great options, but limit the treats to a small portion of their diet. You can also offer mealworms, pumpkin, and fish in moderation; these treats provide a bit of variety and enrichment to their diet.
The Scoop on Grit: Why Chicks Need it
Chicks also need grit, small pieces of rocks that they swallow to help grind up their food in their gizzards. You can start giving your chicks grit when they’re about 2-3 weeks old, but be sure to get the right type. Get chick grit at your feed store, and never give your young chicks oyster shell.
The Next Step: Growing Strong with “Grower Feed”
After eight weeks, it’s time to transition your chicks from starter feed to “grower feed.” This feed has a lower protein content and is formulated to support their growth as they mature. Make sure to follow the instructions on the feed bag and adjust the amount you give based on the size of your birds.
Following these guidelines for feeding and watering your baby chicks will give them the best possible start. With proper nutrition, they’ll grow into strong, healthy hens that will lay eggs for you for years.
Raising baby chicks is a rewarding experience but also comes with health concerns. Like any young animal, chicks are susceptible to various illnesses and conditions affecting their growth and well-being. It’s important to understand the common health problems that you may encounter and know how to identify and address them to keep your chicks healthy and happy.
Dehydration
Like human babies, baby chicks must stay hydrated to grow and thrive. However, unlike human babies, they can’t pick up a sippy cup and drink whenever they want. Dehydration occurs when a chick loses more fluid than it takes in and can be easily recognized by sunken eyes, dry and sticky mouth, and a lack of energy. To prevent dehydration, ensure they have access to clean and fresh water at all times, and if you notice any of the signs, you can try offering electrolyte water or holding a damp sponge to their beak to encourage them to drink.
Respiratory Problems
Chicks are susceptible to respiratory issues caused by bacteria, viruses, or poor brooder ventilation. Sneezing, coughing, nasal discharge, and a lack of energy are all red flags for respiratory problems. To prevent respiratory issues, make sure their living space is well-ventilated, and keep their bedding clean and dry. If you suspect respiratory issues, it’s best to separate the sick chick from the rest and seek veterinary advice.
Pasty Butt
Pasty butt is a common issue that new chicken owners may encounter when raising baby chicks. It occurs when feces stick to the chick’s rear end, making it difficult for the chick to go to the bathroom. This can lead to blockages and even death if left untreated. To ensure that your chicks remain healthy, it’s essential to understand the causes and preventative measures for pasty butt.
The first sign of a pasty butt is a buildup of feces on the chick’s rear end, which can be seen as a clump of dried or matted feathers. The chick may also become lethargic and stop eating and drinking, which are signs of discomfort or pain. In severe cases, the chick may become unable to move its legs, making it imperative to take action as soon as possible.
Pasty butt is often caused by a combination of factors, including an imbalanced diet, high humidity levels in the brooder, and poor brooder hygiene. Providing your chicks with a balanced diet that includes all the necessary nutrients is essential to prevent this condition. You should also keep the brooder clean and dry, regularly changing the bedding and ensuring good ventilation to avoid high humidity.
If you notice the symptoms of a pasty butt, the first step is to separate the affected chick from the rest of the group. Next, gently clean the chick’s rear end with a warm, damp cloth to remove dried feces. You can also use a soft-bristled brush to remove any matted feathers gently. Once the chick’s rear end is clean, return it to the brooder and continue monitoring it to ensure the condition doesn’t recur. In severe cases, it may be necessary to seek veterinary advice to avoid further complications.
Stargazing or Wry Neck
Wry neck, also known as stargazing, is a condition that affects baby chicks and causes their heads to tilt to one side. This misalignment can make eating, drinking, and moving around difficult, leading to stress and decreased growth. Several factors can contribute to developing a wry neck, including a lack of essential vitamins and minerals, infection, and genetics.
To prevent the onset of wry neck, it’s essential to ensure your chicks receive a balanced diet that includes all the nutrients they need to thrive. You should also closely monitor their behavior and physical appearance, as early intervention is critical to resolving the issue. If you notice any symptoms of wry neck, it’s essential to separate the affected chick from the others and seek veterinary advice as soon as possible.
Treating wry neck will vary depending on the underlying cause but may involve supplementation with vitamin E and selenium, antibiotics for infections, or even surgery in severe cases. Taking proactive measures to prevent and treat wry neck can help your chicks stay happy, healthy, and on the right path toward a bright future.
Spraddle Leg
Spraddle leg, or splayed leg, is a common condition where baby chicks experience difficulty walking and maintaining balance due to their legs spreading out to the side. The condition is often caused by slippery flooring, overcrowding in the brooder, or genetics.
Watch your baby chicks’ walking patterns and balance to spot spraddle legs. If you notice any instability or difficulty walking, look closer at their legs to see if they spread to the side. Additionally, you can observe the chick’s balance while standing or resting, as spraddle leg often causes the chick to wobble or fall over.
The good news is that simple steps can often correct straddle leg. To prevent the condition, ensure the brooder flooring provides a non-slip surface, keep the brooder clean and dry, and avoid overcrowding.
If you notice any symptoms of spraddle leg, the first step is to separate the affected chick from the rest of the flock and provide a secure and stable surface for it to stand on. Next, using a standard-size bandaid, gently wrap one end of the bandaid around the chick’s leg. Then gently wrap the other leg with the other side of the bandaid. The middle of the bandaid will be hanging free, supporting keeping the chick’s legs together. Keep this on for a few days to help it develop muscles and balance. This will also allow the chick to learn to walk correctly and regain strength. Once the chick is walking comfortably, you can release it into the brooder.
Coccidiosis
Imagine waking up one day to find your baby chick with diarrhea, weight loss, and lethargy. This is a tell-tale sign of a common and debilitating parasite called Coccidiosis. It’s an infection that affects the digestive tract of baby chicks and can cause severe discomfort and health problems. The parasite that causes this condition is found in contaminated soil, feed, or water and can quickly spread from one chick to another.
To prevent Coccidiosis, keeping your baby chick’s living area and food clean and dry is essential. This helps to reduce the risk of contamination and limit the spread of the parasite. Additionally, consider using a medicated feed, which can help to provide some added protection against this and other common chick illnesses.
If you notice any Coccidiosis symptoms in your baby chick, acting quickly is essential. Separate the affected chick from the rest and seek veterinary advice as soon as possible. With proper treatment, medication can treat and prevent Coccidiosis, allowing your baby chick to grow and thrive.
Cross Beak
Cross beak is a condition where the chick’s beak is misaligned, causing difficulty eating and drinking. It’s caused by genetics or injury. Identifying cross beak early on is vital so you can provide the appropriate care and support. So, how can you tell if your chick has a cross-beak? Here are a few signs to look out for: Inability to eat or drink: One of the most apparent signs of cross beak is the chick’s inability to eat or drink normally. It could be a sign of cross-beak if you notice your chick struggling to reach its food or water or making a mess when it tries to eat or drink. Misaligned beak: Another way to tell if your chick has a cross beak is to look at its beak. If the upper and lower beaks are not aligned correctly, it could be a sign of cross beak. You may also notice that the chick’s beak has a curved appearance. Difficulty breathing: A cross beak can sometimes make it difficult for the chick to breathe correctly. If you notice your chick gasping for air or its breathing seems complicated, seeking veterinary advice is a good idea.
If you suspect that your chick has cross beak, it’s essential to seek veterinary advice as soon as possible. Cross beak is not correctable, and the chick will likely require special feeding for its entire life. However, with the proper care, your chick can still live a happy and healthy life!
The Tough Call: Culling a Chick
Culling a chick is a tough call, but sometimes it is necessary to prevent suffering and keep the rest of the flock healthy. A responsible chicken keeper must know when and how to cull a chick humanely. This decision should not be taken lightly and only be made when it is in the best interest of the chick and the rest of the flock.
Culling a chick can be necessary when the chick is suffering from a severe illness or deformity that cannot be treated or when the chick is causing harm to other members of the flock. For example, if a chick suffers from a debilitating illness or injury, it may be necessary to cull it to prevent spreading the disease to the rest of the flock. In the case of a chick with a deformity, such as a crossed beak, it may be difficult or impossible for the chick to feed and survive without significant human intervention.
The most humane way to cull a chick is through a method known as cervical dislocation. This method involves gently grasping the chick’s head and neck and applying gentle, controlled pressure to snap the neck, causing a quick and painless death. It is essential to consult with a veterinarian or experienced chicken keeper to learn how to perform this procedure correctly and humanely.
Culling a chick is never easy, but sometimes it is necessary to prevent suffering and keep the rest of the flock healthy. As a responsible chicken keeper, it’s essential to be prepared and know how to do so humanely.
Growing Up Fast: The Development of Your Baby Chicks
Raising baby chicks can be an exciting and rewarding experience. However, it is crucial to understand that they grow up quickly, and their physical and behavioral characteristics change as they develop. This section will cover what you can expect regarding their growth and development, week by week, including physical and behavioral changes.
What to Expect with Your Baby Chicks’ Growth, Week by Week
The first few weeks of a chick’s life are critical for its growth and development. During this time, they will grow rapidly and begin to feather out. Here is what you can expect week by week:
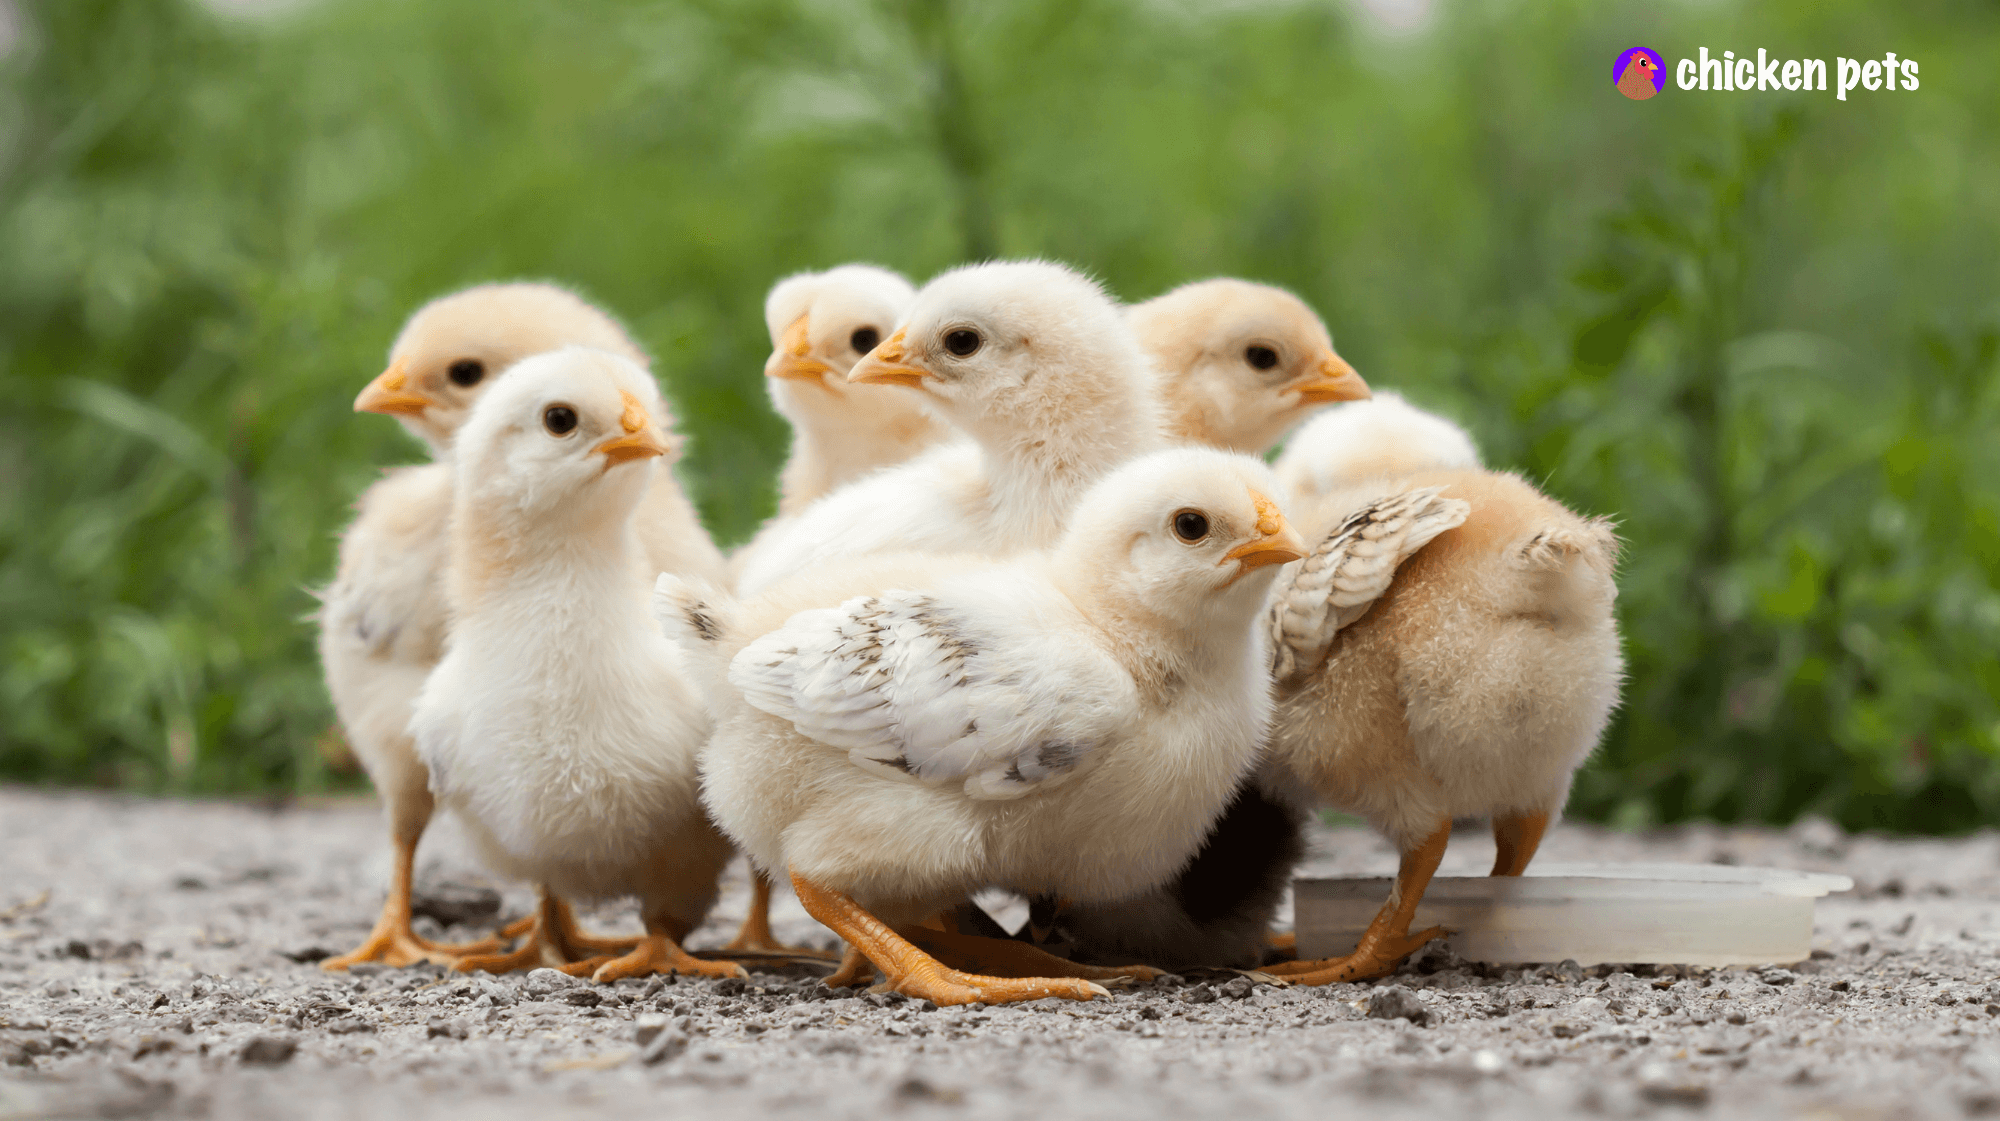
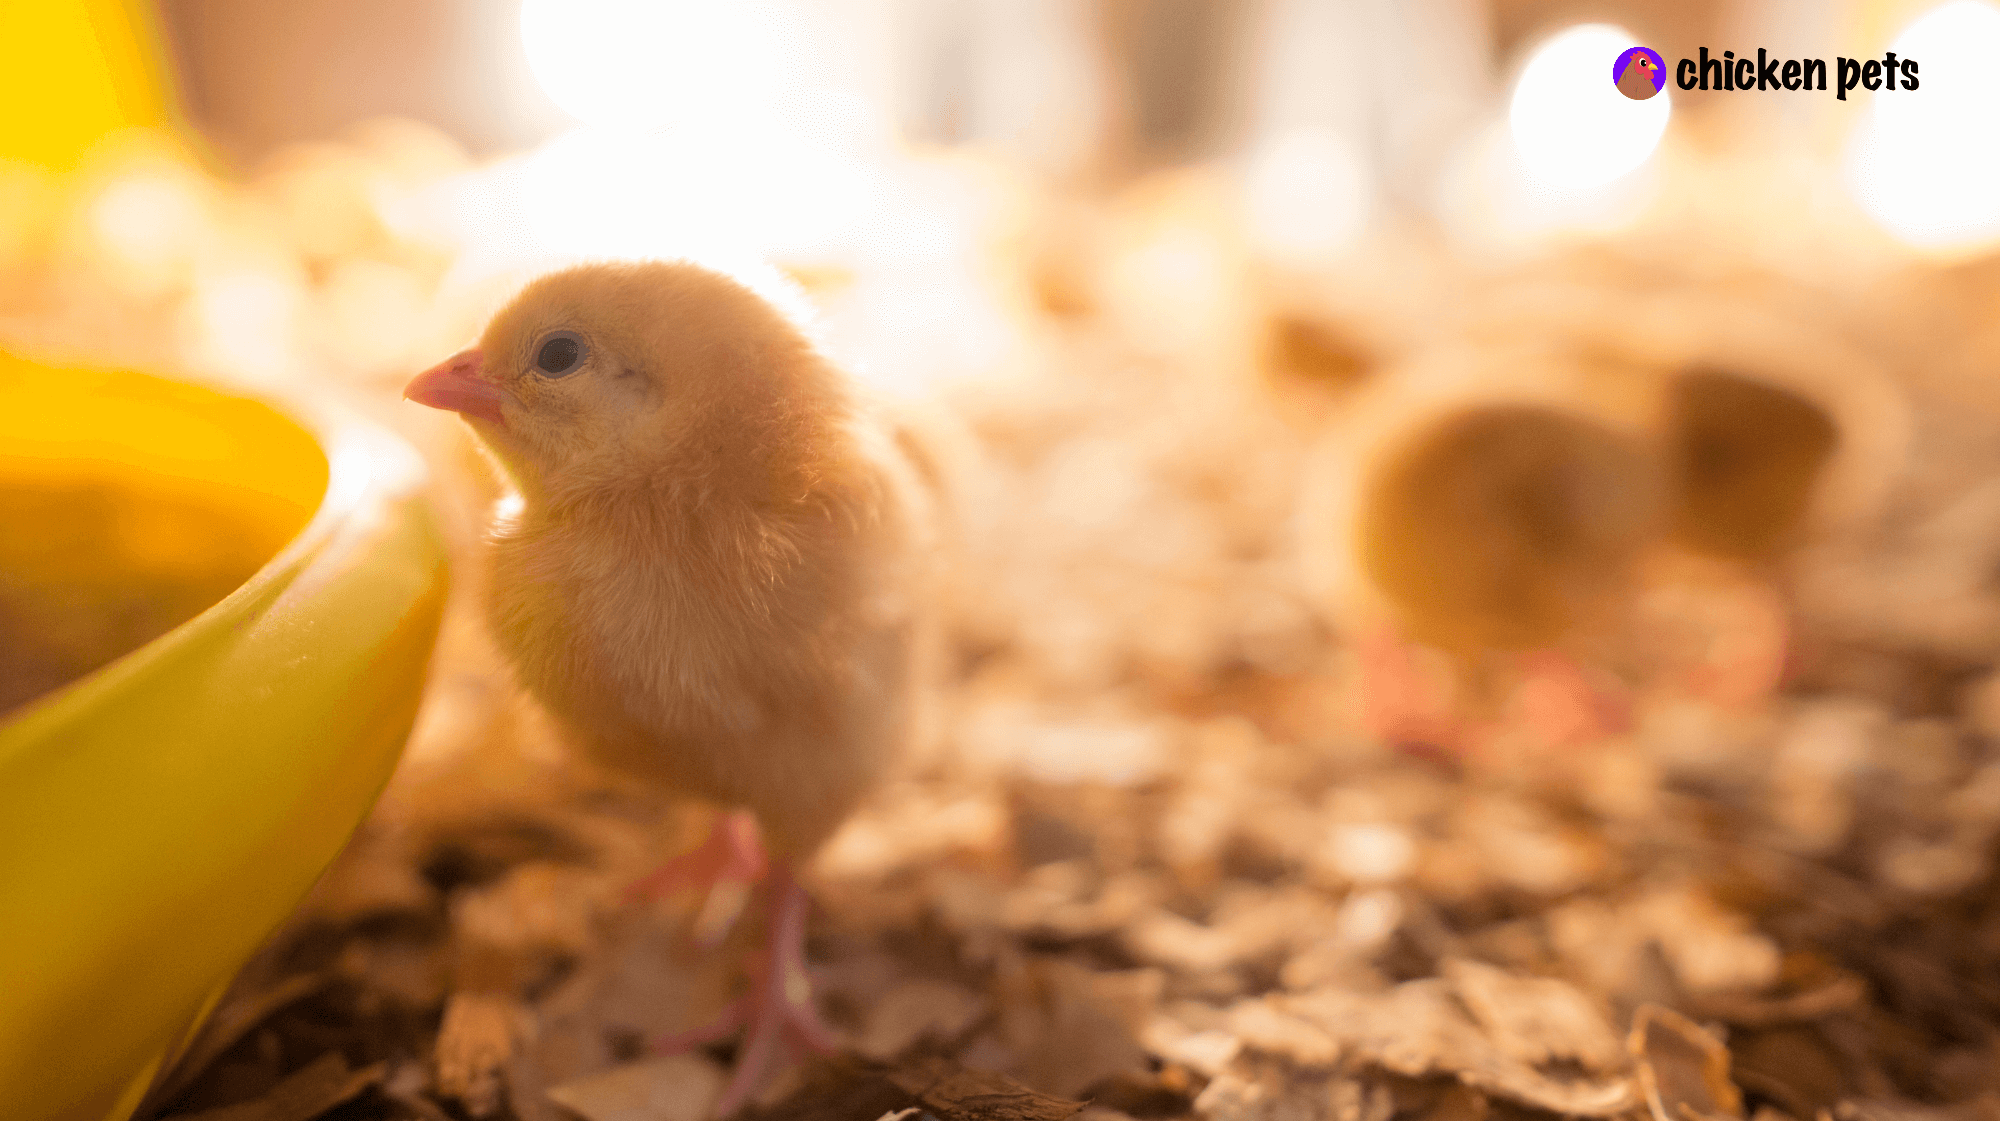
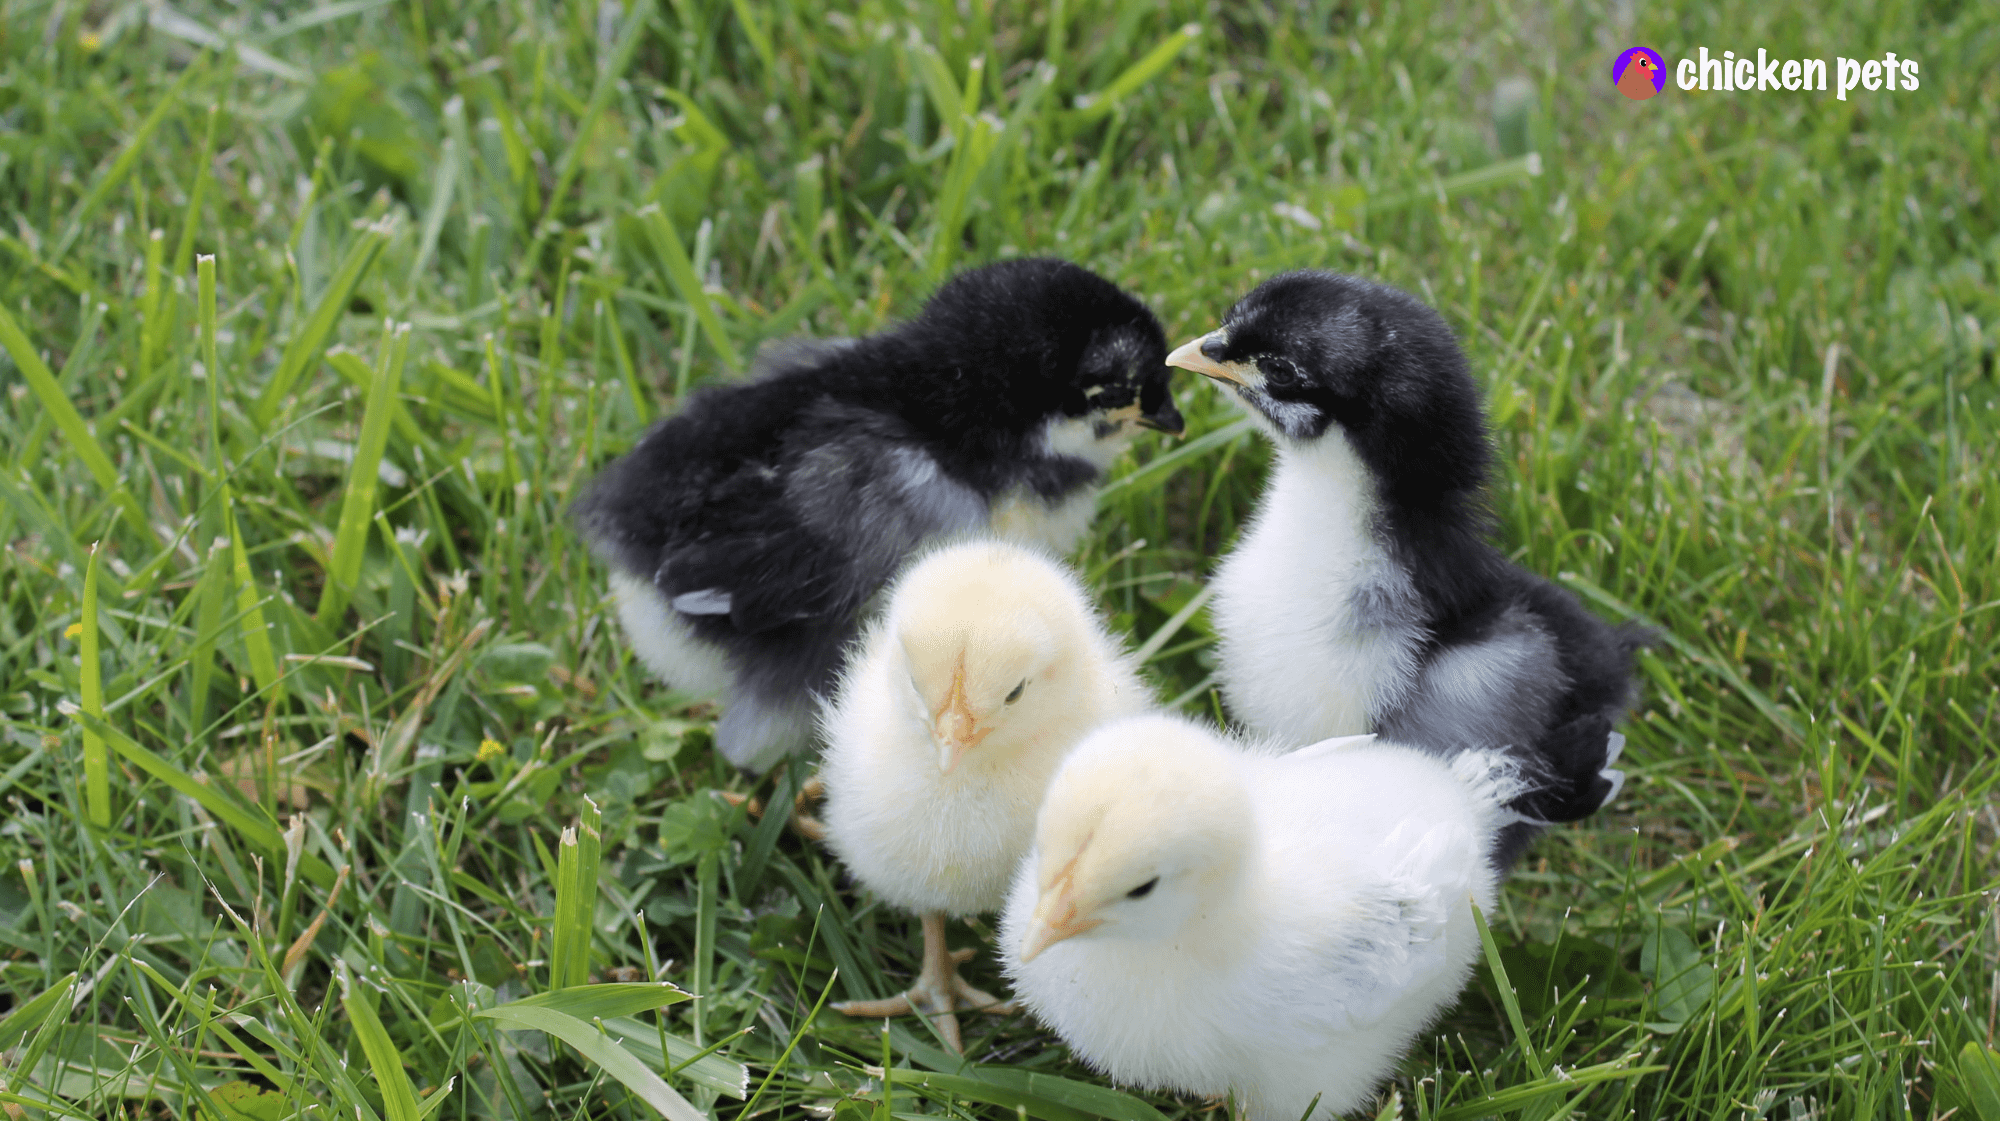
Week 1: During their first week, chicks will be fluffy, cute, and active. Their legs will begin to strengthen, allowing them to stand and walk around their brooder.
Week 2: During their second week, chicks will develop their feathers, making them look like miniature chickens. They will continue to grow rapidly, and you may notice differences in size and feather development.
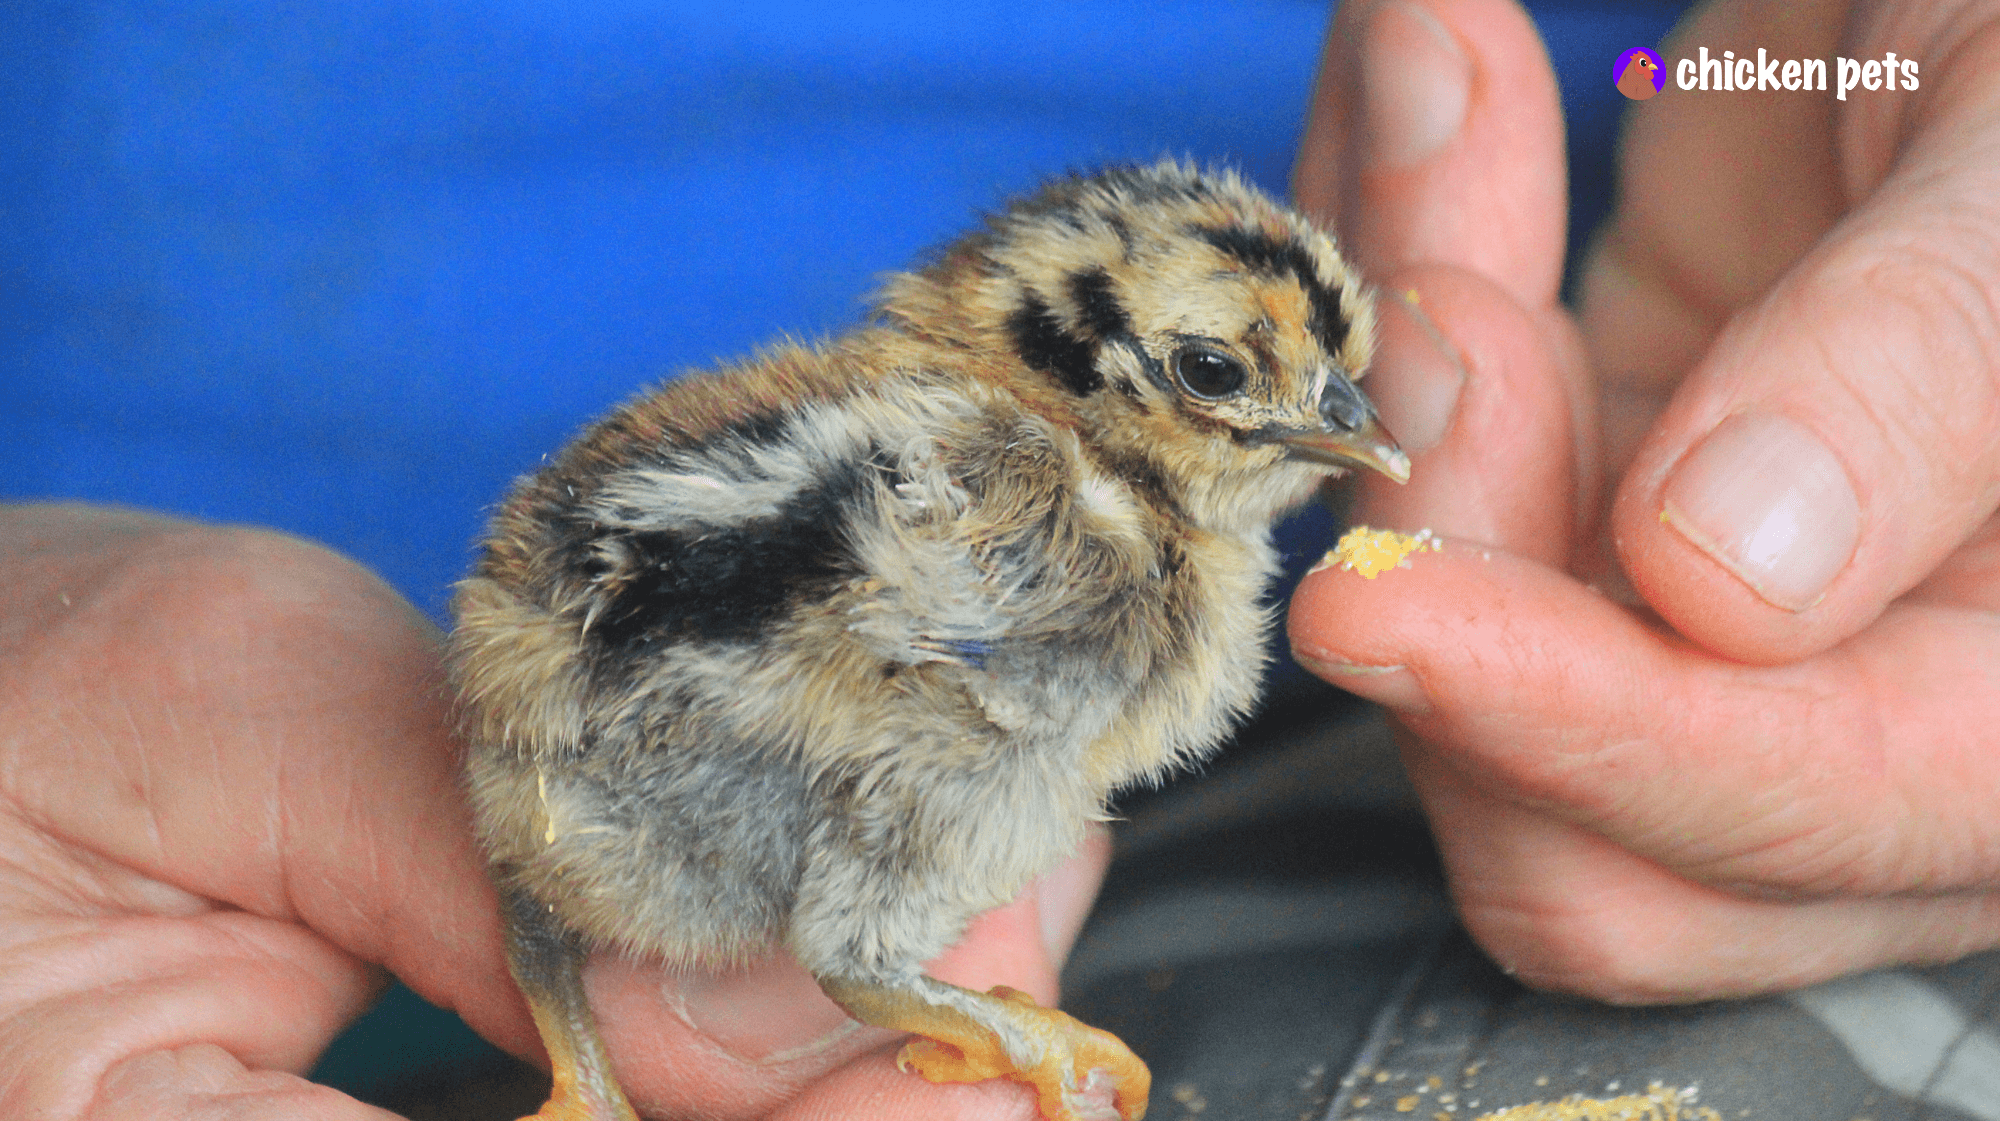
Week 3: By the third week, chicks will have developed their primary feathers, and their secondary feathers will begin to grow. They will be more active and curious, and their personalities will emerge.
Week 4: In week four, your chicks will develop their adult feathers and be more graceful in their movements. They will be more interested in their surroundings and may start exploring their brooder more.
Week 5: By the fifth week, your chicks will have fully feathered out and resemble miniature adult chickens. They will be more confident in their movements and may start to roost.
Week 6: At six weeks, your chicks will experience a growth spurt, and they will be growing rapidly and will need plenty of food and water to support their growth.
Week 7: By the seventh week, your chicks will have grown significantly and resemble miniature adult chickens. However, it may take several more months for some breeds of chickens to reach their full size and start laying eggs. This week, they will continue to grow, mature, and develop their personalities.
Week 8: By the eighth week, your chicks will have completed their rapid growth and reached their full size. They will be calmer and more content and have established a routine in their brooder.
Physical Development
During the eight weeks of growth, your chicks will undergo several physical changes. They will grow rapidly, developing their feathers and muscles. Their beaks will harden, and their eyes will become more evident. They will also build their immune system, which will help protect them from disease.
Behavioral Changes
Along with physical changes, your chicks will also experience behavioral changes as they grow. They will become more confident and independent, exploring their brooder and surroundings. They will establish a pecking order, determining the dominant and submissive birds in the flock. They will also develop their unique personalities, becoming more apparent as they mature.
When to Give Your Baby Chicks Outside Time: Best Practices
The great outdoors is beautiful for baby chicks to explore, exercise, and soak up some sun. But when is the right time to introduce them to the great unknown? Generally, it’s best to wait until your chicks are at least six weeks old and fully feathered before taking them outside. But, to be safe, it’s always best to check with your local veterinarian to ensure they are ready.
When it comes to outdoor time, it’s all about balance. You want to give your chicks enough time to enjoy the fresh air but not too much that they get overwhelmed or exposed to potential danger. A good rule of thumb is to start with short periods, say 10-15 minutes, and gradually increase as your chicks get older and more confident.
Protecting Your Baby Chicks from Predators: Tips and Tricks
Your baby chicks may be cute and cuddly, but they are also vulnerable to predators like dogs, cats, foxes, coyotes, hawks, owls, and other larger animals lurking around your property. To protect your feathered friends, consider creating a secure outdoor space, such as a fenced-in area or a covered run. You can also place chicken wire over their run to provide added protection from aerial predators.
Bonding with Your Chicks: Fun and Creative Ideas
Taking your baby chicks outside is not only good for their health, but it’s also an excellent opportunity for you to bond with them. You can play with them, talk to them, and even give them one-on-one time. Some fun ideas include setting up an obstacle course, playing hide and seek, or relaxing in the sun together. The possibilities are endless, and the only limit is your imagination.
Introducing Your Baby Chicks to the Big Leagues: A Guide to Joining the Existing Flock
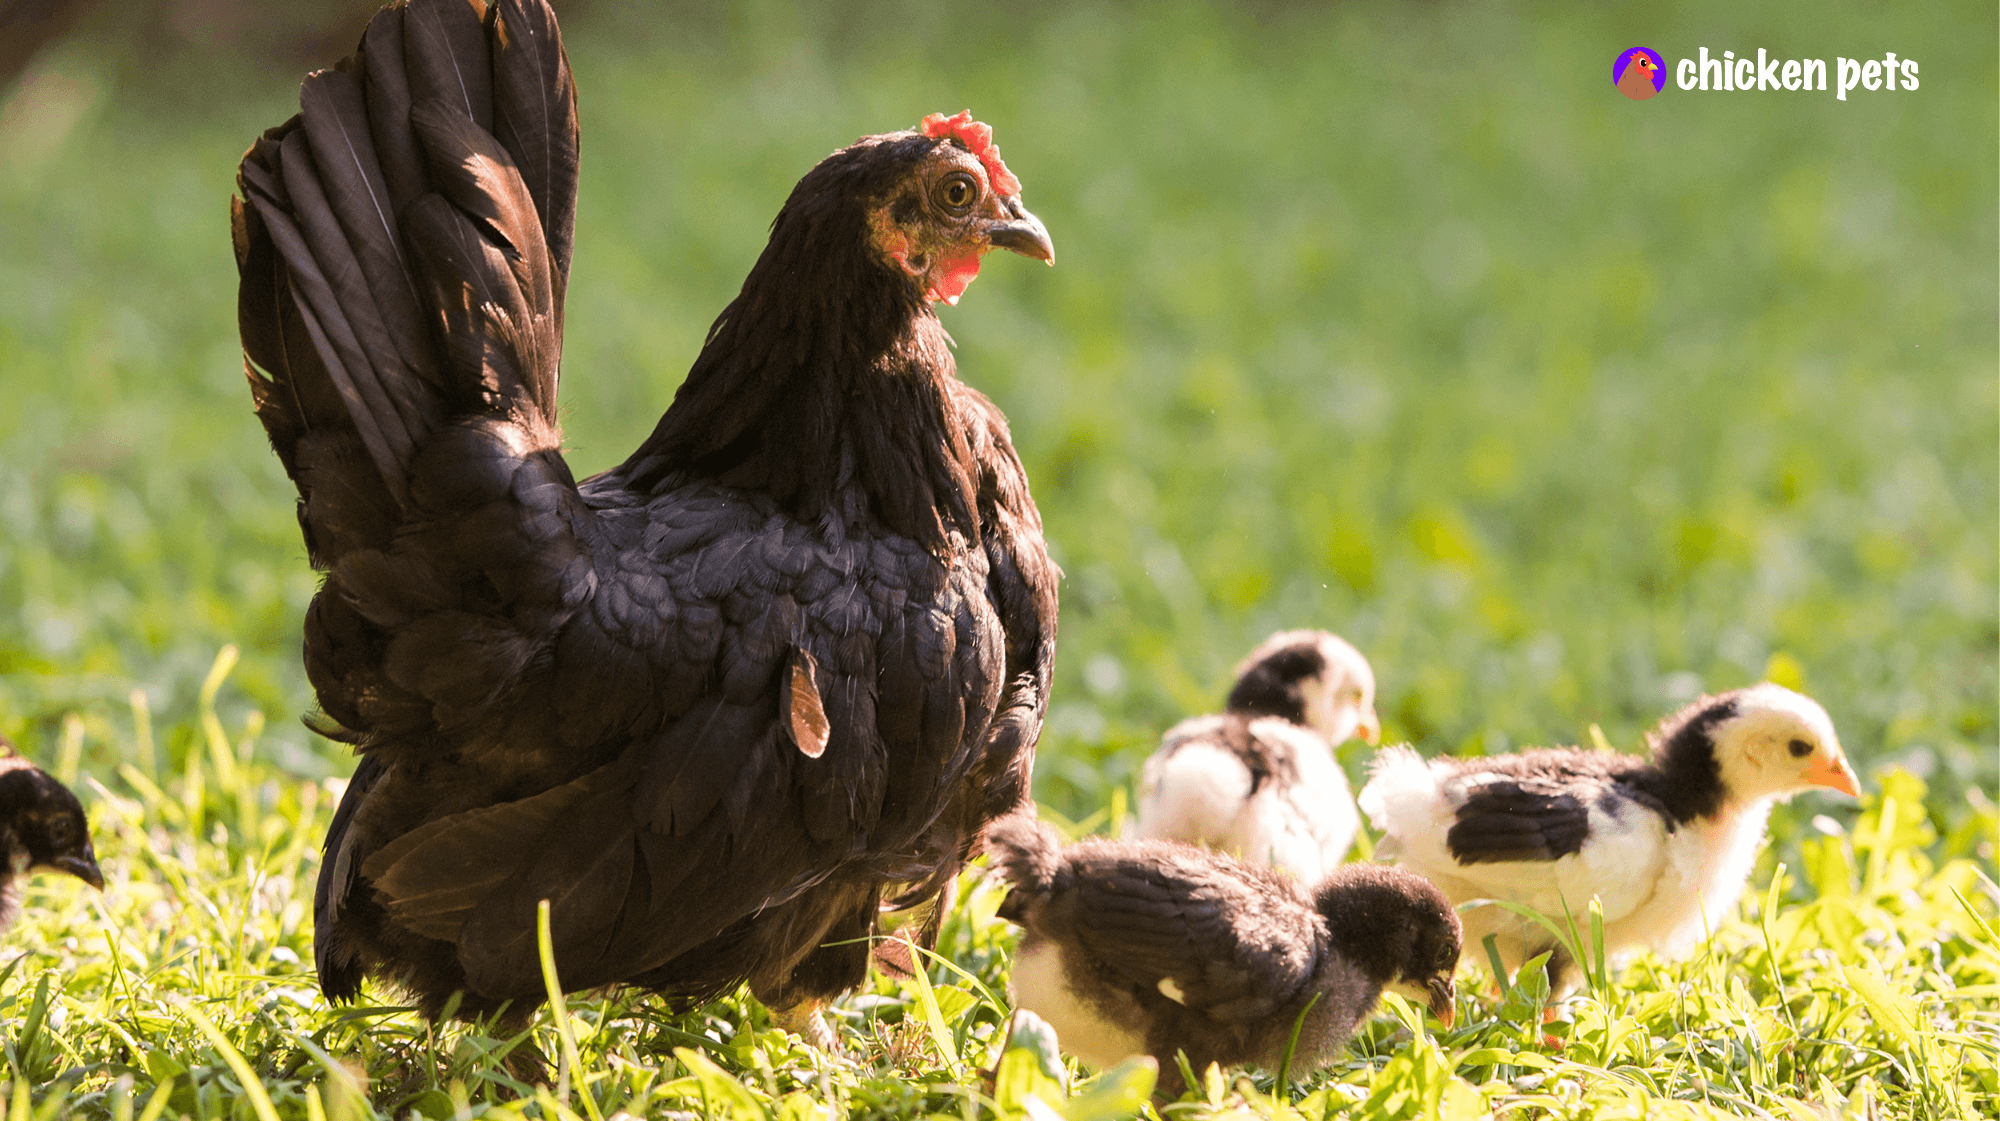
As your chicks grow, preparing them for the big leagues is essential—joining the rest of your chickens. Introducing them correctly to the existing flock will not only make the transition more accessible but will also help prevent any aggressive behavior from adult birds.
Start with preparation. Before introducing your chicks to the existing flock, ensure they are fully feathered and at least 6-8 weeks old. This will help ensure they are strong enough to defend themselves and prevent harm to the adult birds.
Get a feel for their personalities. Before introducing, observe the chicks and the adult birds to understand their personalities, temperaments, and behaviors. This information will help you determine the best way to proceed with the introduction.
Take things slowly. The key to introducing your chicks to the existing flock is gradual. Start by allowing them short periods together, with close supervision. Gradually increase the duration as both groups become more comfortable with each other.
Use a barrier. It’s best to put a barrier between the chicks and adult birds when they first meet. This can be a fence or other physical wall that separates them but allows them to see each other. This will help them get accustomed to each other before being put in the same area.
Provide a safe haven. Ensure your chicks have a designated area to retreat if they feel threatened or need some alone time. Consider setting up a small fence with a small opening that only the chicks can fit through but that keeps the adult birds out. Put the chick’s food and water in this closed-off area so they can eat and drink without the big birds.
Ensure adequate space. Ensure enough space for the chicks and adult birds, allowing ample room to move around and avoid aggressive interactions.
Monitor behavior. Always supervise the introduction of your chicks to adult birds to ensure everyone is safe. Pay close attention to the behavior of both groups during the introduction process. Look out for signs of aggressive behavior, such as pecking or chasing, and intervene if necessary. If necessary, separate the groups and try again later.
The article is a chapter from our book. Keep reading the chapters below.
- Backyard Chickens: The Beginners Guide
- Chapter 1: Raising Chickens in Your Backyard. Pros, Cons, Costs
- Chapter 2: Chicken Coops. Components, Buying, Building
- Chapter 3: Chicken Breeds for Beginners. Where to Start
- Chapter 4: Baby Chicks. Everything You Need to Know
- Chapter 5: Feeding and Watering Chickens Ultimate Guide
- Chapter 6: Chicken Health and Hygiene: The Master Guide
- Chapter 7: Chicken Eggs. The Incredible Edible Egg!
- Chapter 8: Chicken Psychology and Behaviors
- Chapter 9: Chicken Shit. Quality, Consistency, Color, Smell