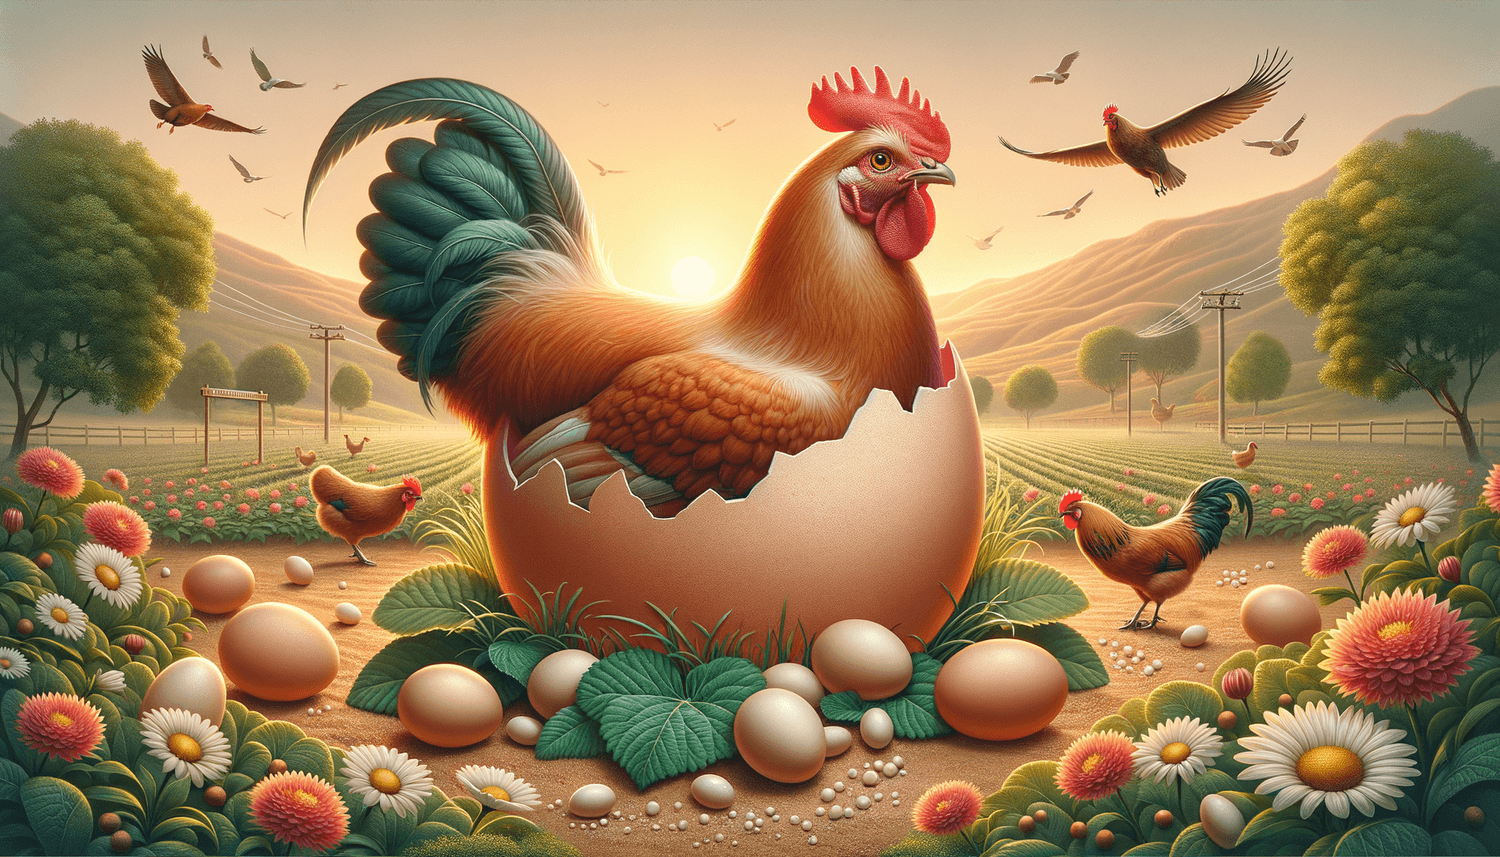
Ever wondered how a chicken’s egg gets fertilized? In this blog post, we’ll uncover the fascinating process from mating to egg development, perfect for anyone interested in raising backyard chickens.
How Does a Chicken’s Egg Get Fertilized?
A chicken’s egg gets fertilized when a rooster mates with a hen, depositing sperm that travels up the reproductive tract to fertilize the ovum. Once fertilized, the egg starts developing an embryo, eventually getting enclosed in a shell and laid by the hen.
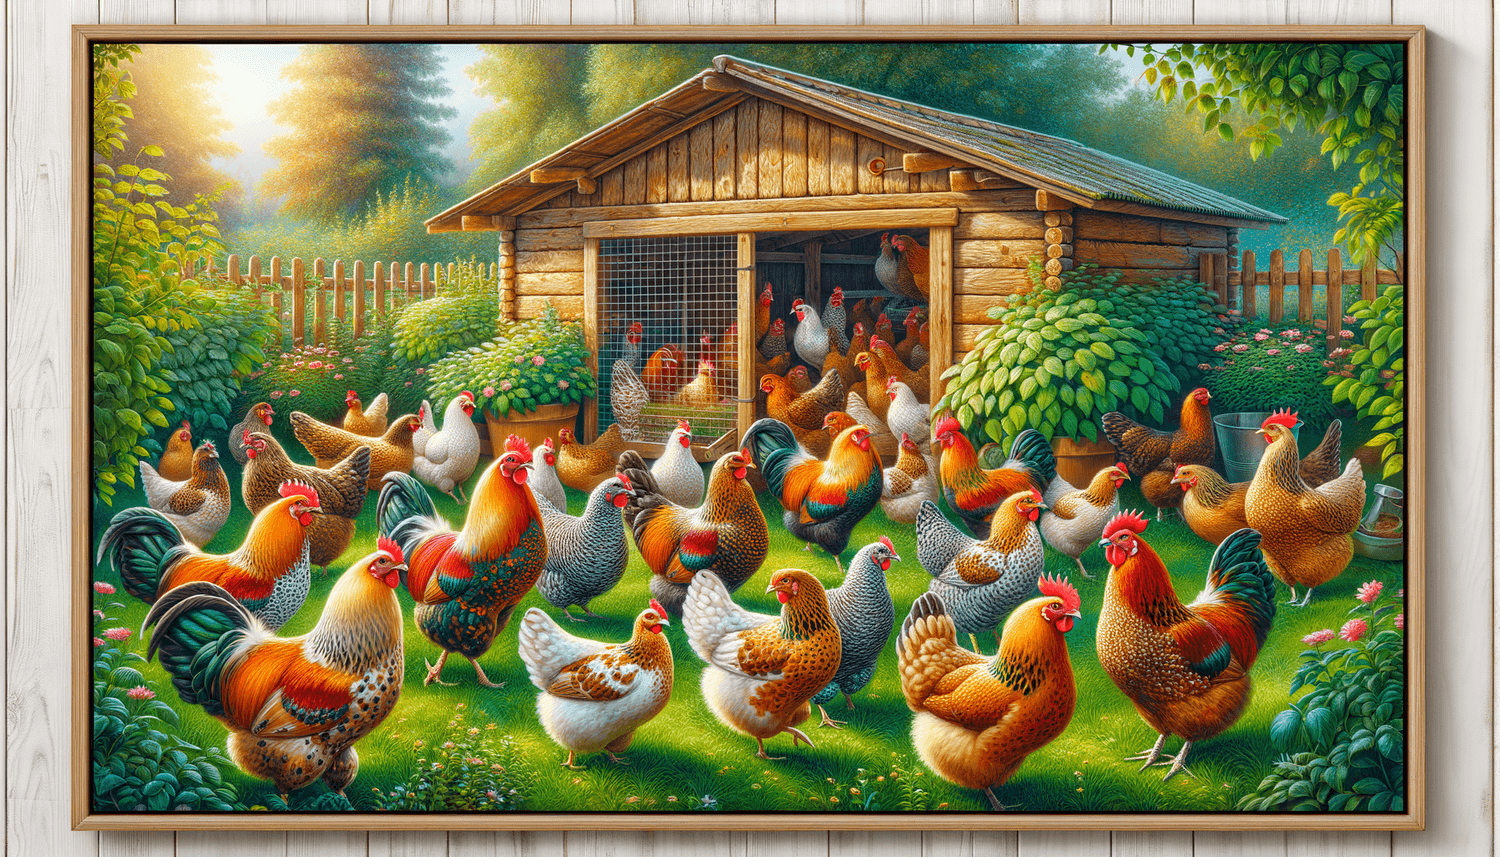
The Chicken Reproductive System
Before we dive into the process of fertilization, it’s essential to understand the basics of a chicken’s reproductive system. A hen’s reproductive system consists of two main parts: the ovary and the oviduct. The ovary is responsible for producing yolks or ova, while the oviduct is a long, winding tube where egg formation takes place.
Mating and Fertilization Process
When a rooster mates with a hen, he deposits sperm into her cloaca, an opening used for both reproduction and waste elimination. The sperm travels up the reproductive tract, reaching the infundibulum, the funnel-like part of the oviduct where fertilization occurs. If a hen has released an ovum, the sperm fertilizes it, initiating the development of an embryo.
The Journey of a Fertilized Egg
After fertilization, the egg moves through the oviduct, where it undergoes a remarkable transformation. Here’s a step-by-step overview of the process:
- Infundibulum: Fertilization takes place in this part of the oviduct, and the journey begins.
- Magnum: The magnum adds a layer of albumen, or egg white, around the fertilized egg.
- Isthmus: At this stage, two shell membranes form around the egg.
- Shell Gland or Uterus: The eggshell forms in this region, and the egg absorbs some water, increasing its size.
- Vagina: The vagina is responsible for expelling the egg, with the pointed end coming out first.
This entire process from fertilization to egg-laying takes around 25 hours.
Determining Fertility of the Egg
One of the most common questions backyard chicken keepers ask is how to determine if an egg is fertilized. There are a few ways to do this:
Candling the Eggs
Candling is a non-invasive method of checking an egg’s fertility by shining a bright light through it. You can use a flashlight or buy a candling device designed for this purpose. Hold the egg gently between your thumb and index finger, with the broader end facing upwards. Allow the light to shine through from the bottom or side, carefully observing the contents of the egg. A fertilized egg will display a network of blood vessels and an embryo as it develops.
Cracking the Egg
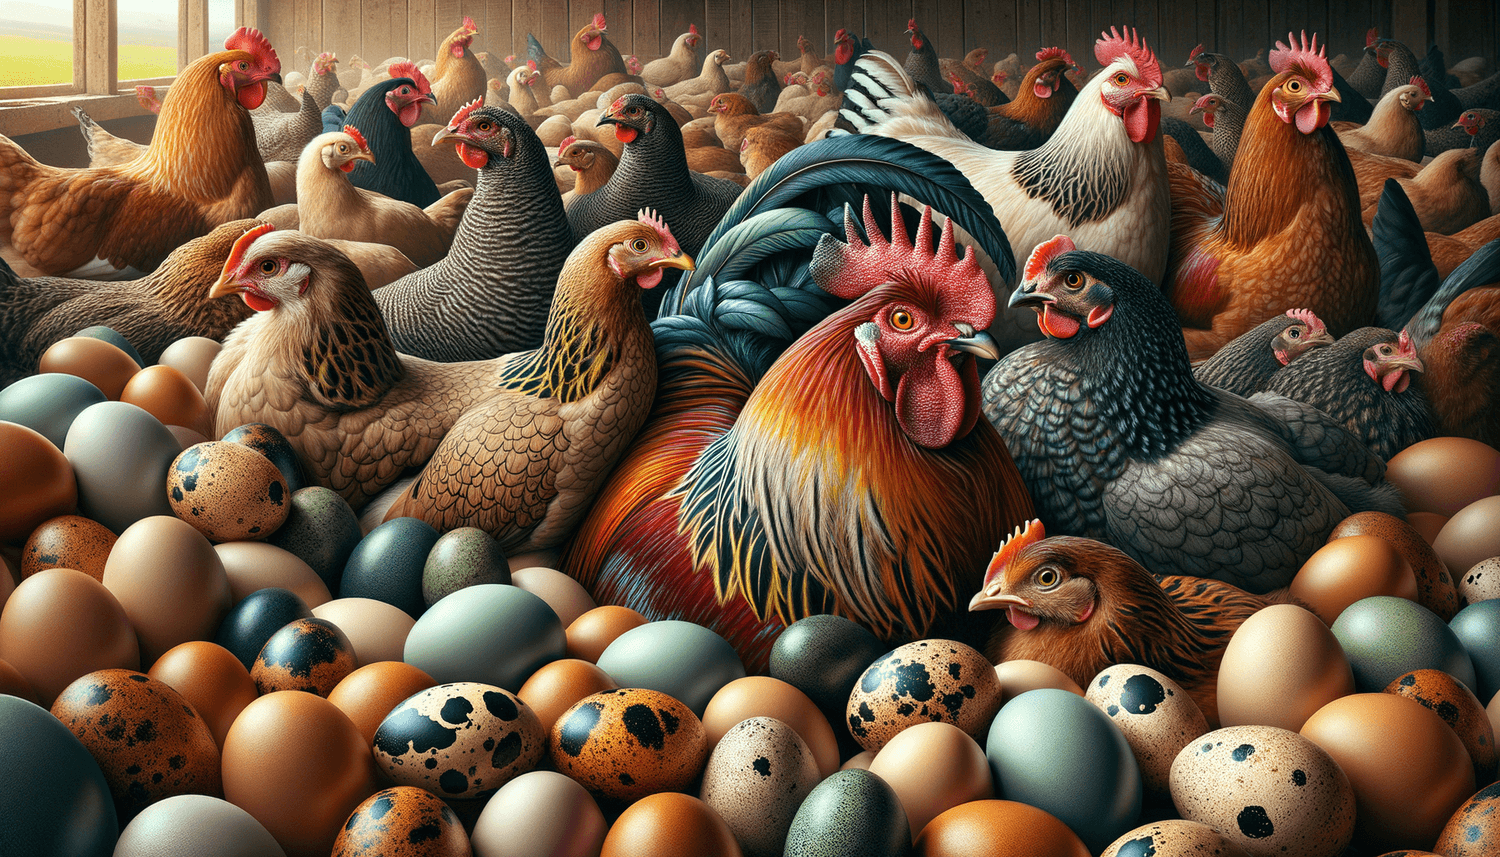
Another way to determine an egg’s fertility is by carefully cracking it open and examining the yolk. A small white spot on the yolk, called a blastodisc, indicates an unfertilized egg. In contrast, a fertilized egg will have a ring-shaped blastoderm, which is the early stage of embryo development.
Incubation and Hatching
To ensure the growth and development of a fertilized egg, maintaining appropriate temperature and humidity conditions is crucial. Under natural circumstances, a broody hen takes care of these factors, but if you’re using an incubator, you’ll need to monitor and control them yourself.
Temperature and Humidity
For successful incubation, maintain a temperature of around 99.5°F (37.5°C) in a forced-air incubator, or 101-102.5°F (38.3-39.2°C) in a still-air incubator. Humidity should be around 45-55% for the first 18 days and raised to 65% in the last three days of incubation.
Turning the Eggs
Turning eggs is essential for even embryo development, preventing the embryo from sticking to one side of the egg. Eggs should be turned at least three times a day; however, turning them five times a day is considered optimal. Stop turning the eggs on day 18 to allow the embryo to settle in the right position for hatching.
Timeline of Incubation
The entire incubation period for chickens is usually around 21 days, but variances can occur due to factors like temperature, humidity, or even genetics. Here’s a simple timeline of what to expect:
- Day 1-3: The embryo starts to develop and forms a tiny heart.
- Day 4-6: Limbs and vital organs continue to develop.
- Day 7-9: The embryo’s features become more defined, and feathers start growing.
- Day 10-18: The embryo matures, and the egg’s air cell grows.
- Day 19-21: The chick gets into its hatching position, and the air cell ruptures, allowing the chick to breathe. The chick pecks through the shell, or ‘pips,’ and eventually hatches.
Common Problems in Fertilization and Incubation
While raising backyard chickens can be rewarding, it’s important to be prepared for issues that may arise during the fertilization and incubation process.
Infertility
Infertility can occur due to several factors such as inadequate nutrition, illness, old age, or incompatible mating pairs. Observing your flock’s behavior and ensuring their overall health and well-being can help minimize the likelihood of infertility.
Temperature Fluctuations
Inconsistent temperatures can harm the embryo’s development. Invest in a high-quality incubator and use a reliable thermometer to maintain the correct temperature throughout the incubation period.
Humidity Levels
Both excessively low and high humidity levels can lead to hatching problems. Monitoring and adjusting humidity levels as needed will help ensure a successful hatch.
Improper Turning and Positioning
Not turning eggs frequently enough or allowing them to roll during the incubation period can cause the embryo to develop poorly. Make sure to turn the eggs as required and use an egg tray to keep them stable.
Boosting Your Flock’s Fertility
To maximize your flock’s potential for fertilization and healthy egg production, keep these tips in mind:
- Nutrition: Provide your flock with a high-quality, balanced diet that includes sufficient protein, vitamins, and minerals.
- Stress Reduction: Keep your chickens’ environment calm and stress-free by minimizing disturbances, providing ample space, and maintaining proper coop hygiene.
- Proper Rooster to Hen Ratio: Ideally, a single rooster can service 10-12 hens. This ratio ensures the rooster can effectively mate with each hen and contribute to fertilization.
- Health Monitoring: Regularly monitor your flock for signs of illness, and take necessary steps to treat any detected issues promptly.
Understanding the process of fertilization and following the practical advice shared here will help you achieve a thriving backyard flock. Happy chicken-keeping!
The Role of Broody Hens in Incubation
Broody hens play a vital role in natural incubation, as they become fiercely protective of their eggs when it’s time for hatching. A hen that has “gone broody” will sit diligently on her eggs, keeping them warm, maintaining humidity levels, and turning the eggs regularly.
For backyard chicken keepers, knowing how to identify a broody hen and care for her throughout the incubation process is a crucial skill. Here are some pointers to keep in mind:
Identifying a Broody Hen
Apart from sitting on eggs for extended periods, broody hens exhibit signs such as:
- Feathers plucked from the chest to better warm the eggs.
- Aggressive behavior when approached, including squawking, puffing up or pecking.
- Infrequent feeding or drinking, with a focus on nest sitting.
Caring for a Broody Hen
Once you’ve confirmed a hen’s broodiness, provide her with a suitable environment and necessary care:
- Nesting box: Offer a private, quiet, and secure nesting box where the broody hen won’t be disturbed.
- Food and water: Keep fresh food and water nearby since broody hens don’t venture far from their nests.
- Protection from predators: Ensure the safety of the broody hen and her clutch by securing the nesting area against predators.
- Periodic egg checks: Regularly check on the eggs for any that are cracked, damaged or show signs of unwarranted development issues.
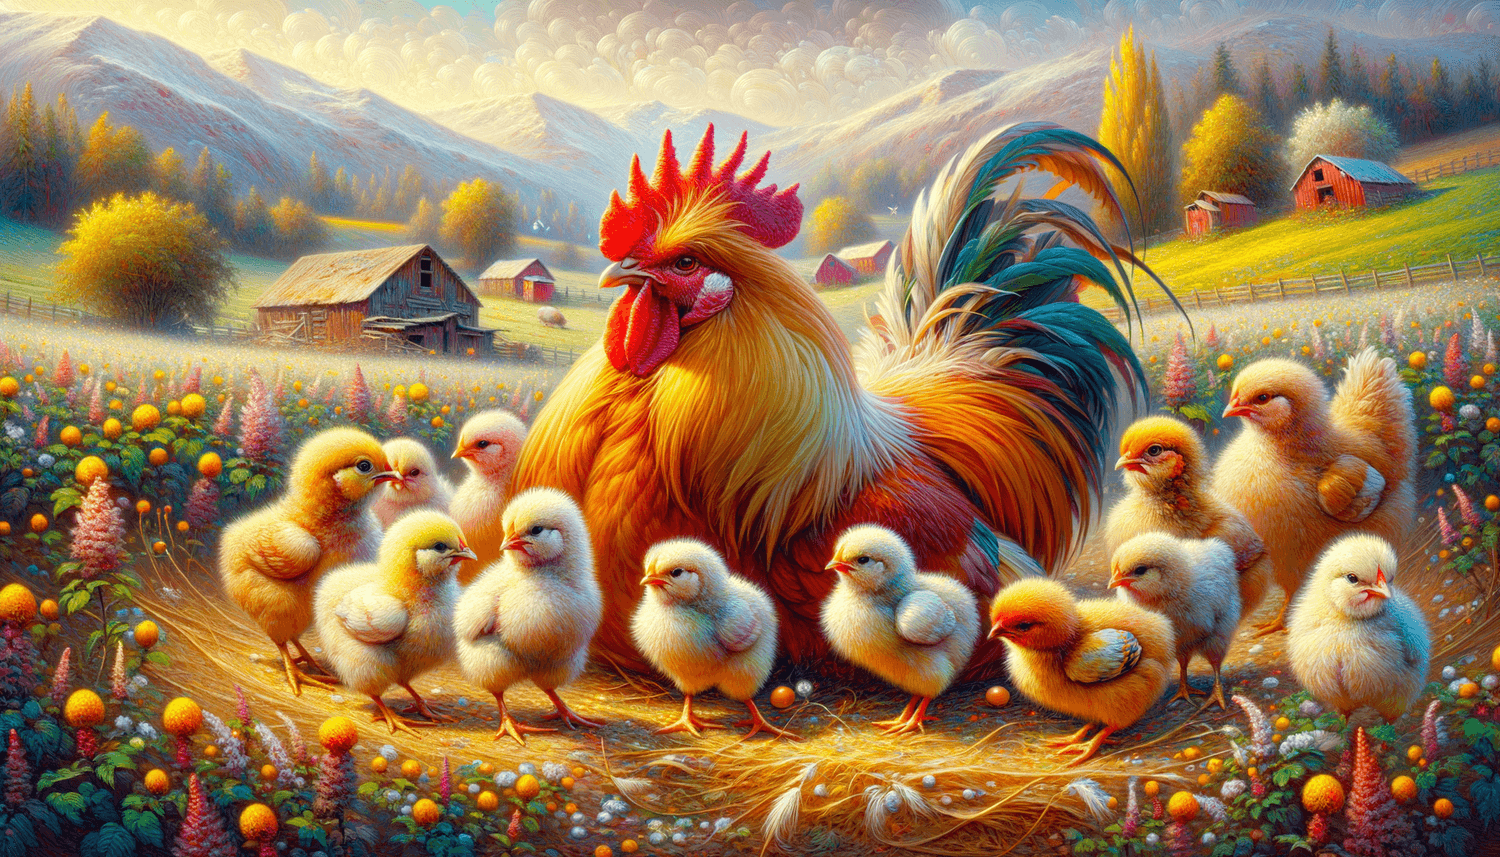
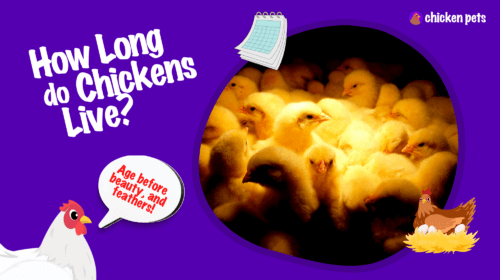
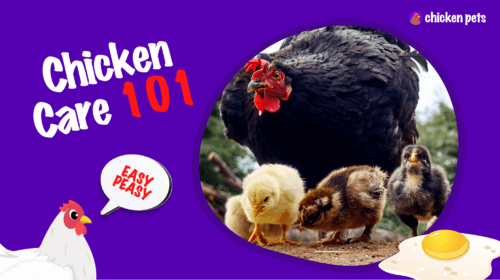
Understanding Day-Old Chicks and Chick Care
Regardless of utilizing a broody hen or an incubator, successfully hatching eggs will result in day-old chicks. Newborn chicks require particular care and attention, setting the stage for their healthy development into adult chickens.
Setting Up a Brooder
A chick’s first home is called a brooder—a warm, safe environment that replicates the cozy environment provided by a broody hen. Some essential elements of a brooder include:
- Heat source: A heat lamp is the most common choice for providing warmth in a brooder. Always maintain safe temperature levels by adjusting the height of the lamp; initially, the temperature should be around 95°F (35°C) and decrease by 5°F (3°C) each week.
- Bedding: Pine shavings are an excellent choice for brooder bedding as they keep the area clean, dry and comfortable.
- Water and food: Provide clean water in a shallow dish and offer high-quality chick starter feed in a feeder.
- Security: Ensure the brooder is predator-proof and safe from drafts, wet areas, or extreme temperature fluctuations.
Chick Care Tips
Here are some tips to help your chicks thrive:
- Monitoring health: Keep an eye on your chicks’ behavior to identify any signs of illness, injury or distress.
- Socialization: Handle chicks gently and routinely, helping them become accustomed to human interaction.
- Gradual transition to the coop: Introduce your chicks to the flock after they’ve grown and acclimated by placing their brooder near the coop, allowing the existing chickens to familiarize themselves with the newcomers.
With attentive care and a solid understanding of fertilization, incubation, and chick rearing, you’ll be well-equipped to raise a healthy and content backyard flock.
Frequently Asked Questions
In this FAQ section, we’ll address some common questions related to the fertilization, incubation, and hatching of chicken eggs. These answers will help build your knowledge and confidence in successfully raising backyard chickens.
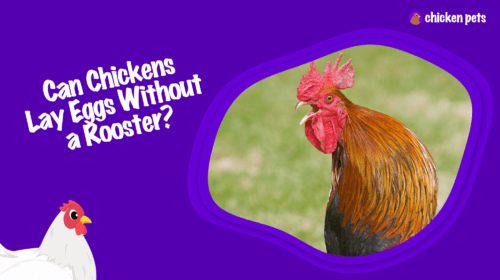
1. Can eggs be fertile without a rooster?
No, eggs cannot be fertile without a rooster. While hens can lay eggs without a rooster, fertilization and the development of embryos require the presence of sperm from a male bird.
2. How long does a rooster’s sperm stay viable in a hen?
A rooster’s sperm can remain viable in a hen for up to two weeks. However, the fertility rate starts to drop after the first week.
3. Is the fertility rate 100% after a rooster mates with a hen?
No, fertility rates are not 100% even after successful mating. Many factors can influence the fertility rate, including the age, health, and environmental conditions of the chickens involved.
4. How long should I wait before candling fertilized eggs?
You can start candling fertilized eggs between days 5 and 7 of incubation. At this stage, you should see some blood vessels and other signs of embryo development.
5. Can I eat fertilized eggs?
Yes, fertilized eggs can be eaten, as long as they’re collected and refrigerated before the embryo starts to develop. There is no difference in taste between fertilized and unfertilized eggs.
6. Can I store eggs before incubating them?
Yes, you can store eggs before incubating them, but this should be done correctly. Store the eggs at a temperature of approximately 55°F (13°C) and at a humidity level of around 75%. Turn the eggs daily to maintain their viability and start the incubation process within 7-10 days.
7. How often should a hen lay fertilized eggs?
Hen egg-laying frequency varies depending on factors like age, breed, health, and environmental conditions. On average, a healthy hen can lay fertilized eggs every 25-26 hours when mated with a rooster.
8. How can I increase the hatch rate of fertilized eggs?
To increase the hatch rate, ensure that you incubate the eggs under appropriate temperature and humidity conditions, turning them regularly. It’s also essential that you store, handle and incubate the eggs correctly, while maintaining the health and well-being of your flock.
9. Can I incubate eggs using a heat lamp instead of an incubator?
While it’s possible to use a heat lamp, it can be challenging to maintain consistent temperature and humidity levels, resulting in reduced hatch rates. An incubator is specifically designed for incubation and provides better control over these essential factors.
10. Can I help a chick that’s struggling to hatch?
It’s generally best to let nature take its course and not intervene. However, in some cases where a chick is truly struggling and has been partially pipped for over 24 hours, you may consider assisting by gently removing some shell fragments. Be cautious, as interfering can cause more harm than good if not done correctly.
11. When can I move chicks to the coop?
Chicks can be moved to the coop once they’re fully feathered and can maintain their body temperature, usually around 6-8 weeks old. Acclimate them gradually by placing their brooder near the coop beforehand, allowing them to grow accustomed to their new environment.
12. Is it normal for some fertilized eggs not to hatch?
Yes, it’s normal for some fertilized eggs not to hatch, even with the best conditions and care. Factors such as genetics, embryo development issues, or improper incubation conditions can result in unhatched eggs.
13. What should I do with unhatched eggs after 21 days?
After 21 days, you can give the eggs an additional 2-3 days to hatch. If they still haven’t hatched, they are unlikely to do so. Dispose of the unhatched eggs in a responsible manner, but first, perform an “eggtopsy” to determine if they were truly fertilized or if any development issues occurred.